Table of Contents
Ever dreamed of rocking those gorgeous six braids, but felt overwhelmed by the parting process? You're not alone! Many find creating even sections for multiple braids tricky, leading to uneven styles and frustration. This comprehensive guide, focused on "how to part hair for 6 braids," will demystify the process and equip you with the skills to achieve perfectly symmetrical, stunning braids every time. We'll break down the essential steps, from efficiently sectioning your hair to mastering various parting techniques. We'll also tackle common problems, offering practical solutions and insider tips to ensure your braids look flawless. Get ready to transform your braiding game and confidently create the stylish, even six-braid look you've always wanted. This isn't just about technique; it's about empowerment, allowing you to express your creativity and style with confidence. So, let's dive in and unlock the secrets to perfect six braids!
Sectioning Your Hair: The Foundation of Flawless Braids
Sectioning Your Hair: The Foundation of Flawless Braids
Creating a Solid Base: The Importance of Sectioning
Think of sectioning your hair like building a house – you wouldn't start constructing walls without a solid foundation, right? Similarly, achieving those perfectly even six braids begins with precise sectioning. This initial step determines the overall symmetry and neatness of your final style. A haphazard approach will lead to wonky braids and a less-than-perfect look. So, taking the time to master this crucial first step is key.
Before you even think about picking up a comb, make sure your hair is completely detangled. Trust me, knots and tangles are the enemy of even sections! A good detangling brush or wide-tooth comb will work wonders here. If you're working with extensions, ensure they're thoroughly combed out as well. For tips on preparing your hair, check out our guide on preparing hair for braids.
Step | Action |
|---|---|
1 | Detangle your hair completely. |
2 | Divide your hair into two equal sections down the middle. |
3 | Divide each of these sections into three more, creating six equal sections. |
Choosing Your Sectioning Method: Finding What Works Best
There are a few different ways to section your hair for six braids. You can use a simple center part and then divide each half into three more sections, creating six equal sections, or you can create a more intricate grid pattern. Experiment to find what works best for your hair texture and length. If you are unsure about the best way to style your braids, then have a look at our post on how to style your braids.
Remember, the goal is to create six sections that are as equal in size and shape as possible. Take your time, and don't be afraid to adjust your parts as you go. A little patience will go a long way in achieving that perfect, even braid look. It's worth the effort! Once you have your sections, you're ready to move on to the next step: creating those perfectly even parts.
- Center Part Method: Simple and effective for most hair types.
- Grid Method: More precise, ideal for thicker hair or intricate styles.
- Diagonal Part Method: Adds a unique flair to your braids.
Creating Even Parts: Techniques for Six Braids
Creating Even Parts: Techniques for Six Braids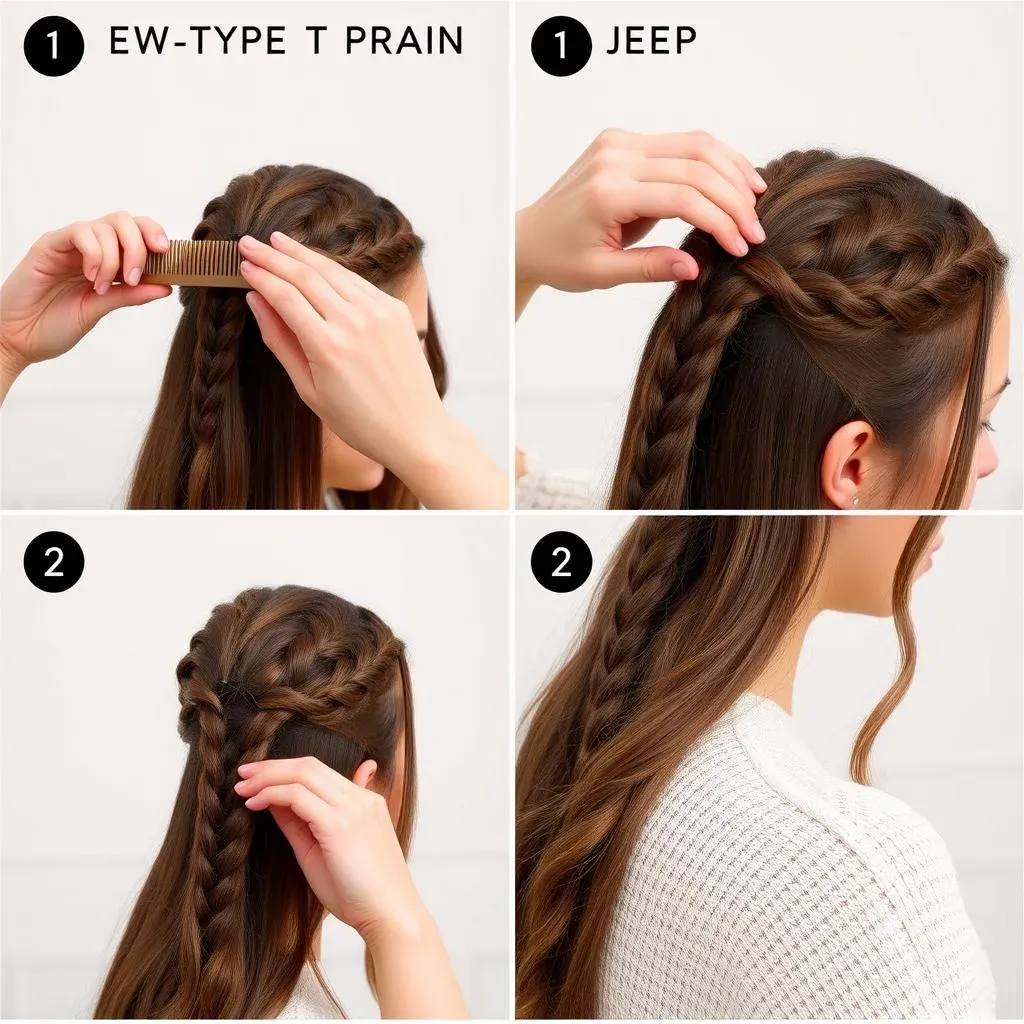
Using a Rat-Tail Comb for Precision
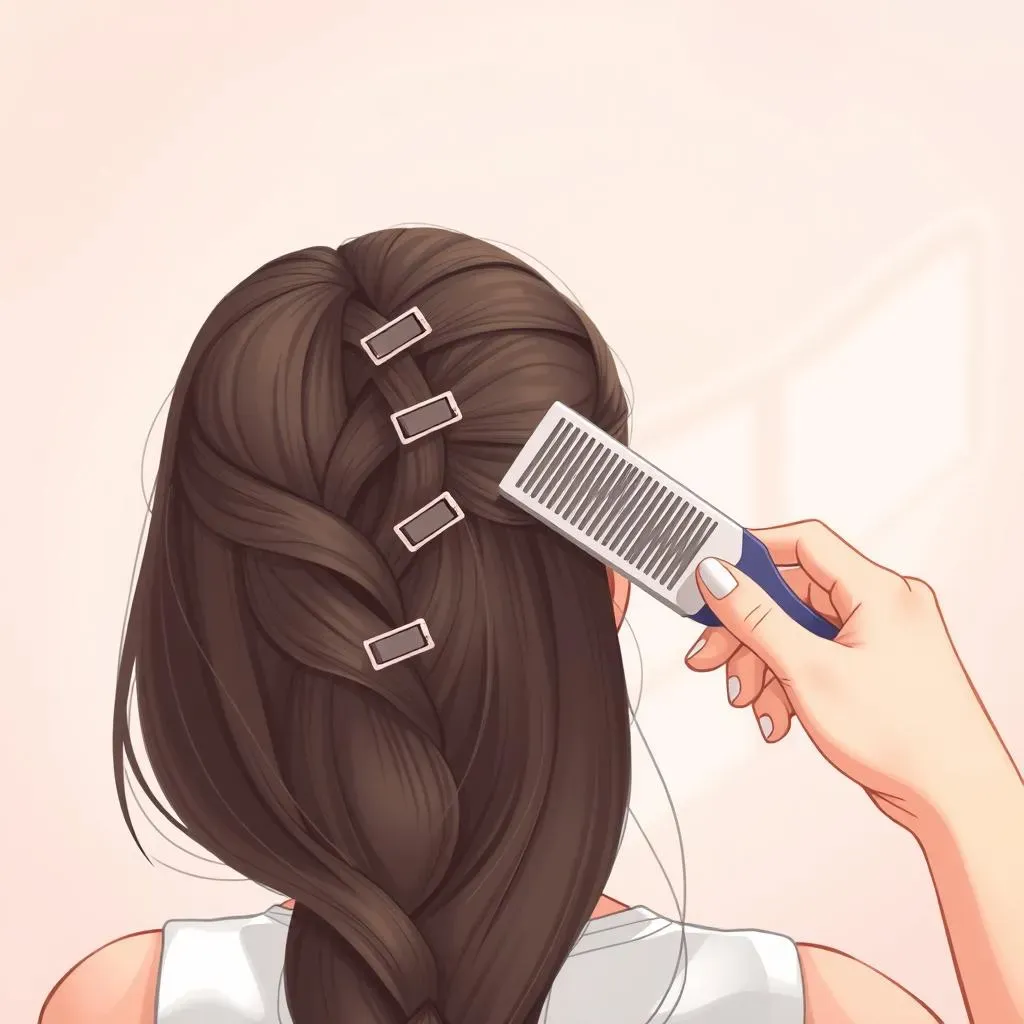
Now that your hair's sectioned, let's talk precision parting. A rat-tail comb is your new best friend. Its fine point allows for incredibly accurate parts, ensuring those sections remain even. Think of it as a surgeon's scalpel for your hair – delicate yet powerful. Start at the crown of your head, creating a straight part from front to back. Then, create three more parts on either side of this initial part. The goal? Six equally sized sections that are basically mirror images of each other. Don't rush this step; a few extra seconds here will save you potential headaches later. If you need inspiration on what styles to do with your braids, check out our guide on braid hairstyles.
Remember, consistency is key. Try to maintain the same distance between each part. It's okay to adjust as you go, but aim for evenness from the start. Visualize the final look you want – neat, even braids that flow smoothly. This meticulous approach will pay off handsomely, resulting in braids you'll be proud of. If you're still feeling a bit lost, a quick look at our article on styling your braids might help.
- Use a sharp rat-tail comb for precision.
- Maintain consistent spacing between each part.
- Adjust parts as needed to ensure evenness.
Utilizing Finger Parting for a Natural Touch
While a rat-tail comb offers precision, sometimes finger parting can create a more natural-looking result, especially for those with curlier or textured hair. For this technique, gently separate your hair into sections using your fingers. It's a bit more tactile and intuitive than using a comb. Feel the hair, ensuring even distribution. The key here is to work slowly and methodically. Don't pull or tug; a gentle touch is essential to avoid breakage or discomfort. Check out our article on potential braid problems to learn how to avoid damaging your hair.
This technique works particularly well when combined with pre-parting, where you visually plan your sections before you begin braiding. Pre-parting allows you to get a clear picture of how your braids will fall, minimizing adjustments and maximizing efficiency. After you’ve completed your parting, you can also have a look at our guide on box braids to see how to achieve even braids.
Technique | Pros | Cons |
|---|---|---|
Rat-tail Comb | Precise, even sections | Can be less natural-looking on textured hair |
Finger Parting | More natural look, less tension | Requires more practice for even sections |
Troubleshooting Common Parting Problems: Tips and Tricks for Success
Troubleshooting Common Parting Problems: Tips and Tricks for Success
Uneven Sections: The Great Leveling Act
So, you've diligently followed the steps, but your sections still aren't perfectly even? Don't despair! This happens more often than you think. Sometimes, stubborn cowlicks or naturally uneven hair growth patterns can throw off your best-laid plans. The key here is to be patient and persistent. Gently adjust your parts, using your fingers or the rat-tail comb to redistribute hair where needed. Don't be afraid to slightly alter your initial plan; perfection comes from thoughtful adaptation.
Remember, you're working with a living, breathing (well, not breathing) canvas – your hair. It’s not always going to cooperate perfectly. If one section is significantly larger than the others, try subtly shifting the adjoining parts to redistribute the volume. If you are still struggling with your braids, take a look at our tips on tight braids to ensure that you are not pulling your hair too tightly.
- Don't be afraid to adjust your parts as you go.
- Subtly shift adjoining parts to redistribute hair.
- Patience and persistence are key to success.
Dealing with Thick or Thin Hair: Adapting Your Approach
Hair thickness can significantly impact your parting success. Thick hair might require slightly wider sections to avoid overwhelming the braids. Conversely, thin hair might need narrower sections to achieve adequate volume. The solution? Adaptation! Before you begin, assess your hair's thickness and adjust your parting accordingly. You might even find that using a different parting technique (grid versus center part, for example) works better for your hair type. If you are unsure which style is best for you, have a look at our post on braid hairstyles for inspiration.
Consider the overall look you want to achieve. Do you want thick, substantial braids, or something more delicate and wispy? Your desired style will influence your sectioning strategy. Remember, there’s no one-size-fits-all answer; the best approach depends on your individual hair characteristics and your creative vision. For more information on choosing the right braid style for your hair, check out our guide on braid hairstyles.
Hair Type | Parting Strategy |
|---|---|
Thick | Wider sections |
Thin | Narrower sections |