Table of Contents
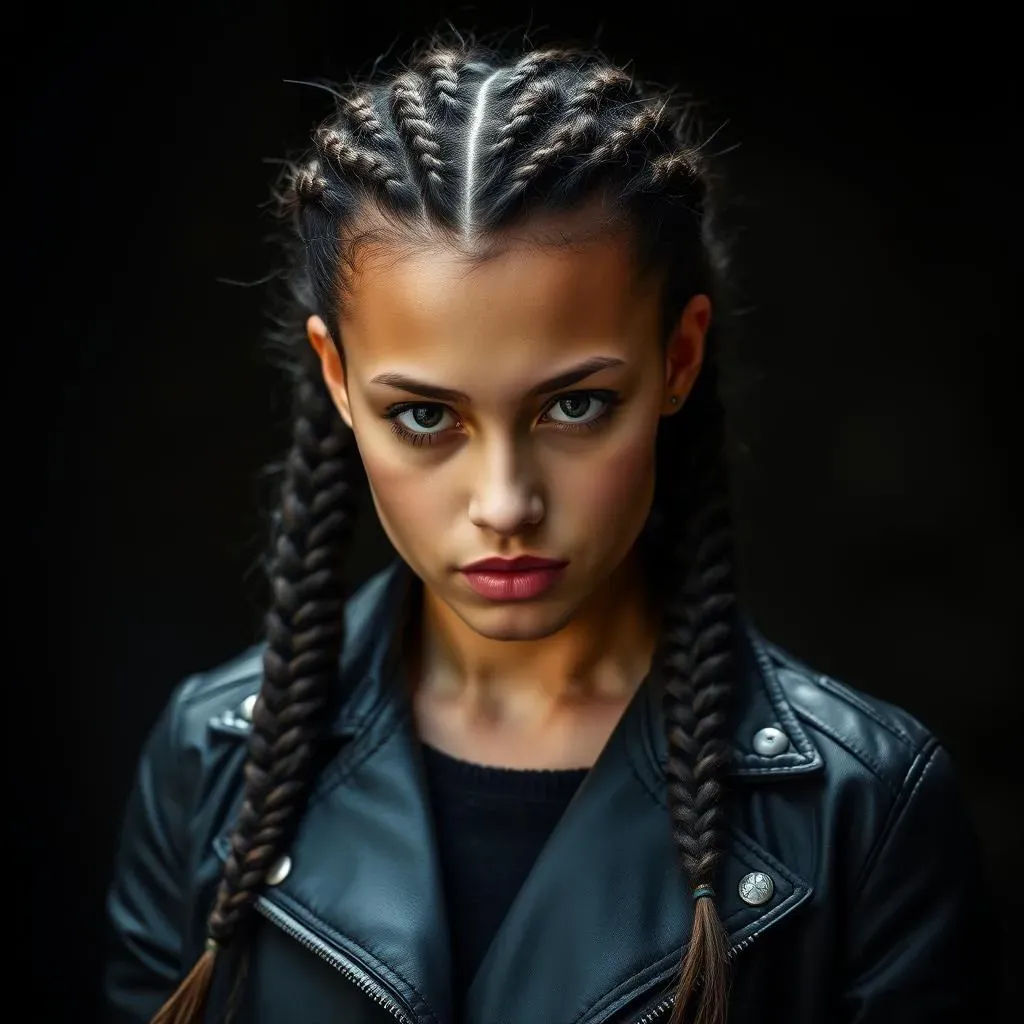
Ever since Yelena Belova burst onto our screens, rocking those seriously cool braids, we've all been a little obsessed. I mean, who wouldn't want to sport a hairstyle that's both practical and fierce? If you've been staring at your reflection, wondering how to achieve those intricate "yelena belova hairstyle braids," you're in the right place. Forget complicated salon techniques, we're breaking it down. This isn’t just about copying a look, it’s about understanding the steps to make it your own. We will start by dissecting her signature round and fishtail braid, then we will move to a simple step-by-step guide, and finally I will give you a few tips to make sure your braid looks as amazing as Yelena's. Whether you're prepping for a cosplay event or just want to add a little spy flair to your everyday style, this guide has you covered. So, grab your hair ties and let’s get braiding!
Recreating Yelena Belova's Signature Braids
Recreating Yelena Belova's Signature Braids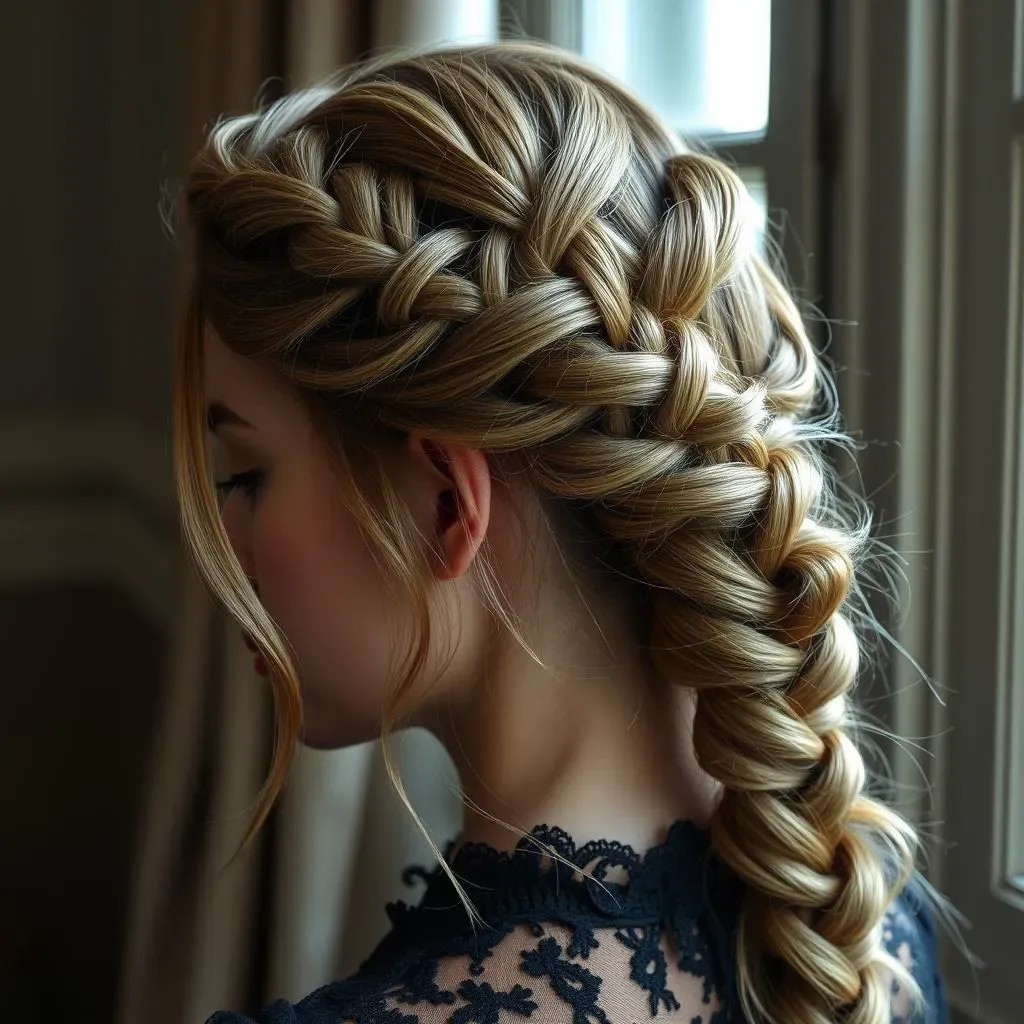
The Anatomy of Yelena's Braid
let's talk about what makes Yelena's braid so unique. It's not just your average, everyday plait. It’s like a hairstyle with a secret mission. We're looking at a combination of a round braid at the crown, seamlessly transitioning into a fishtail braid down the side. It’s a four-part braid, which sounds intimidating but is totally doable. The key is to keep it tight and flat against the head, that’s what gives it that sleek, almost severe, look. And don’t forget those little flyaways, they add to the effortless, "I just saved the world but also look fabulous" vibe.
Imagine it as a kind of architectural marvel, each strand playing its part. The round braid gives it structure, while the fishtail adds a touch of elegance, but also keeps it practical, you know? Like when she is fighting the bad guys. The four-part aspect of the braid allows for a unique texture and depth, it’s not just a simple three-strand braid. Once you understand the different parts, you will see that it is not that complicated as it looks. It's all about breaking it down into manageable sections.
Key Elements to Yelena's Braid
- Round Braid: The base of the style, tight and close to the scalp.
- Fishtail Braid: Adds a unique texture and dimension.
- Flyaways: Deliberately messy strands around the face.
- Tightness: Key to achieving a sleek and secure look.
Breaking Down the Braid
Now, let's get practical. Before you even touch your hair, picture the braid in your mind. You’re not just braiding, you're creating a statement. First, you'll need to gather a section of hair right at the center of your forehead, but leave a few strands out in the front, those are going to be the flyaways. You will secure that section with bobby pins. Then, you're going to make a fishtail braid on the right side of that center section, making it compact and tight. This is going to be the start of the fishtail part. Don’t worry if it looks a little weird at this point, we’re building up to the final product.
Next, brush the rest of your hair toward the back of your head, get rid of any tangles and prepare for the round braid. You will divide your hair into four sections at the crown, and begin weaving it. As you weave, you're going to add more hair into the braid, alternating sides as you work your way down, keep it tight. It's like you are creating a strong foundation, each strand contributing to the overall stability and look. Once you run out of hair to add, continue the pattern down to the ends, and secure it with an elastic. This is how we keep everything together, making it long-lasting.
Essential Tools for Braiding
Tool | Purpose |
|---|---|
Bobby Pins | Securing the initial section and the fishtail. |
Hairbrush | Smoothing out tangles and preparing the hair. |
Elastic Band | Securing the end of the braid. |
Hair Product | Helping keep the flyaways on place. |
Yelena Belova Hairstyle: StepbyStep Instructions
Yelena Belova Hairstyle: StepbyStep Instructions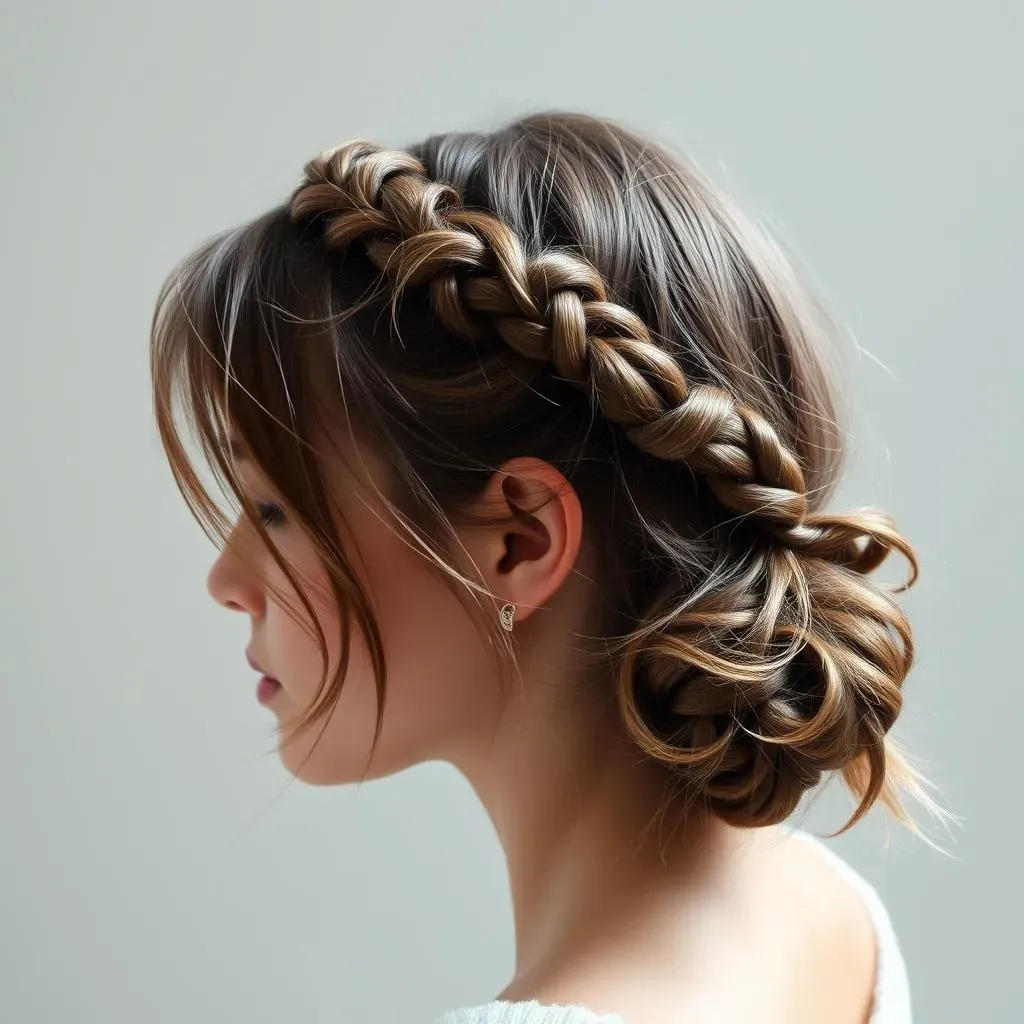
Getting Started: The Foundation
Alright, let's get down to the nitty-gritty. First things first, you will need to gather your tools: bobby pins, a hairbrush, an elastic band, and maybe some hair product. Now, stand in front of a mirror, it is good to see what you are doing, right? You will start with that small section of hair right at your forehead, leaving some strands free around the face, we want that effortless look. This is where you'll create a small poof by twisting the section and pushing it forward on your scalp. Secure it with bobby pins, these are your best friend for this hairstyle, believe me. This is the base for the entire braid, so make sure it feels secure.
Next, take a small section on the right side of that center section and start your fishtail braid. This part should be tight and compact, it's what gives the braid it's unique texture. Think of it as a mini braid that will support the overall style. Now, brush the remaining hair towards the back of your head, make sure there are no tangles. This part is important because when you start the round braid, you want a smooth canvas. It’s like prepping a wall before painting, you know? You need that clean surface for the braid to look its best.
The Round Braid Technique
Now for the main event, the round braid! You're going to divide your hair into four sections at the crown of your head. This is where it can feel a little tricky, but trust me, it's not as hard as it looks. Start weaving the braid, adding more hair as you go, remember to alternate sides as you work your way down. The key here is to keep the braid tight and flat against your head. It's like creating a rope, every strand needs to be firmly in place. Imagine you are building a wall, one brick at a time, each addition is necessary to the structure. Once you run out of hair to add, just continue the pattern down to the ends. This will create a cohesive look. Secure the end with an elastic band, this will prevent the braid from unraveling.
Once the round braid is complete, it's time for the final touches. Gently pull out the center sections of the braid, this will give it some volume and make it look a bit more relaxed. It's like adding a bit of air into the braid, giving it a more organic feel. Secure the fishtail braid with bobby pins, tucking it in neatly. Now, here comes the fun part: release a few flyaways around your face. These little strands add to the messy, yet chic look that Yelena is known for. It's all about that balance between structured and effortless. This will make the braid feel less stiff and more like yours. Now step back and admire your work, you did it!
Step-by-Step Checklist
- Gather your tools: bobby pins, brush, elastic band, hair product.
- Create a small poof at the center of your forehead.
- Start a tight fishtail braid on the right side.
- Brush the rest of your hair back.
- Divide hair into four sections at the crown.
- Begin weaving the round braid, adding hair as you go.
- Continue the round braid to the ends.
- Secure the end with an elastic band.
- Gently pull out the center sections for volume.
- Secure the fishtail braid with bobby pins.
- Release a few flyaways.
Troubleshooting Tips
Sometimes, things don't go as planned, and that's totally okay. If your braid feels too tight, try loosening it up a little by gently pulling on the sides. If flyaways are unruly, use a tiny bit of hair product to tame them, but don't overdo it. Remember, practice makes perfect. Don't be discouraged if your first attempt isn't flawless. The key is to have fun and keep practicing. Each time you do the braid, you will get better and faster. And remember, even if it's not exactly like Yelena's, it's still yours and it looks great!
And if you are still struggling, there are tons of tutorials online that can help you visualize the steps. Sometimes, seeing it done is easier than reading about it, right? So, don't be afraid to use all the resources available. The most important thing is to have fun with it and not to stress too much about perfection. After all, Yelena herself probably doesn't have a perfect braid every time. So, embrace the imperfections and make it your own!
Quote
“The most important thing is to enjoy your life – to be happy – it’s all that matters.” - Audrey Hepburn
Tips and Tricks for Mastering the Yelena Belova Braid
Tips and Tricks for Mastering the Yelena Belova Braid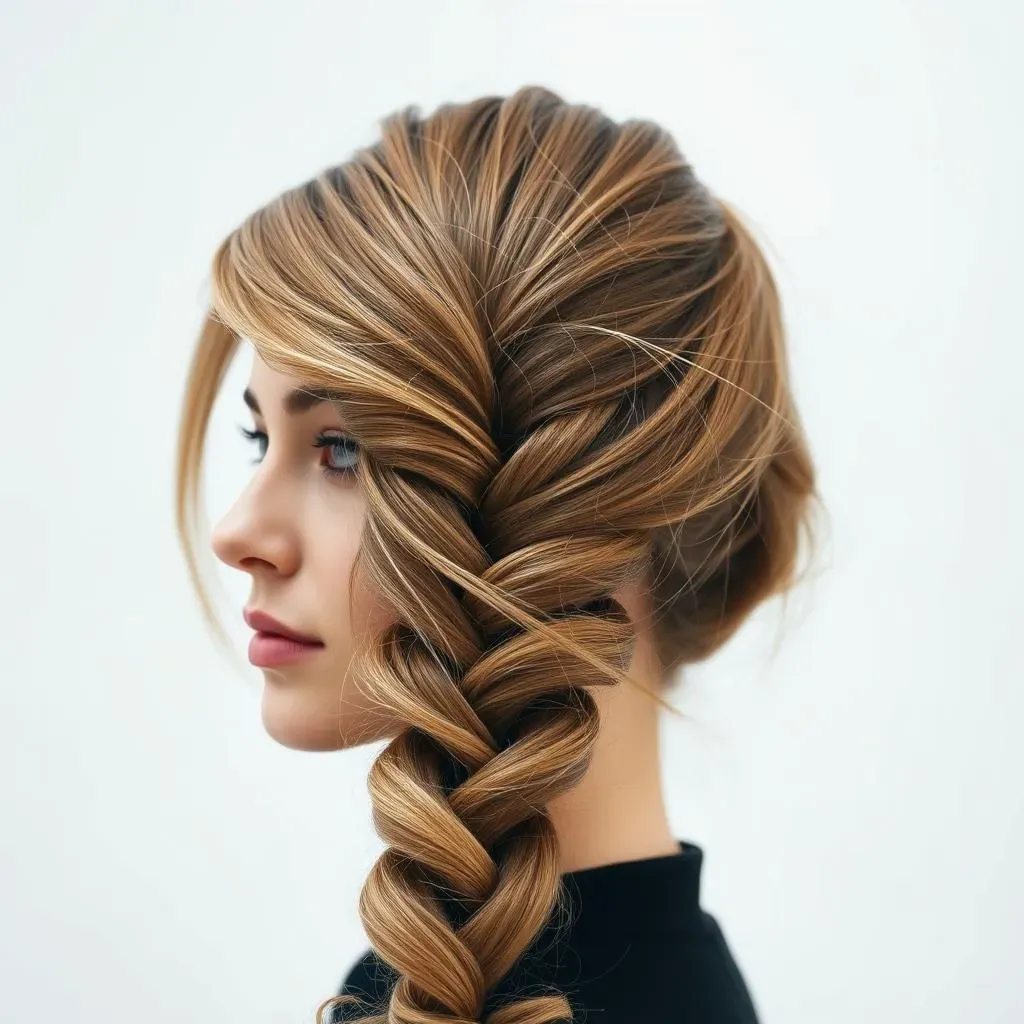
Perfecting the Technique
so you've got the basic steps down, but now you want to take your Yelena Belova braid to the next level, right? It’s not just about following the instructions, it’s about understanding the little nuances that make a big difference. One of the biggest tips I can give you is to practice regularly, the more you do it, the easier it gets. Don't expect to nail it on your first try, it's like learning any new skill, it takes time and patience. And remember, consistency is key, try to do the braid at least a few times a week, that's how you will build muscle memory.
Another thing to keep in mind is the tension of the braid. You want it to be tight enough to stay in place, but not so tight that it feels uncomfortable. It's a delicate balance, but you'll get the hang of it. Also, don't be afraid to experiment with different hair products. Some people prefer a light hairspray, while others like a bit of texture paste. It really depends on your hair type and what works best for you. The key is to find what gives you the best hold and shine. And remember, the goal is to look cool and confident, not like you are trying too hard.
Essential Tips for a Flawless Braid
- Practice Regularly: Muscle memory is your friend.
- Tension Control: Tight but comfortable.
- Product Experimentation: Find what works for your hair.
- Patience: Don't get discouraged, it takes time.
- Mirror, Mirror: Use a mirror to see what you are doing.
Adding Your Personal Touch
Now, let’s talk about making this braid your own. While we’re aiming for that Yelena Belova aesthetic, you don’t have to be a carbon copy. Feel free to play around with the flyaways, maybe you prefer more or less. You can also experiment with different braid styles for the fishtail part, maybe a Dutch fishtail? Or if you are feeling adventurous, add some small braids within the round braid. The possibilities are endless. The most important thing is to have fun with it and express your creativity.
And remember, this braid is not just for cosplay, it’s a great everyday hairstyle. It keeps your hair out of your face and looks super stylish. So, whether you’re heading to the gym or going out with friends, this braid has got you covered. It’s all about finding a style that fits your personality and lifestyle. And if you are feeling extra creative, add some hair accessories, like small clips or ribbons. This will give your braid an extra touch of sparkle and personality. So go ahead, make it your own!
Troubleshooting Guide
Problem | Solution |
|---|---|
Braid is too tight | Gently pull on the sides to loosen. |
Flyaways are unruly | Use a tiny bit of hair product. |
Braid is slipping | Make sure the base is secure. |
Not enough volume | Pull out center sections gently. |
Quote
“You can have anything you want if you are willing to give up the belief that you can’t have it.” - Dr. Robert Anthony
Achieving the Perfect Yelena Belova Braided Look
Achieving the Perfect Yelena Belova Braided Look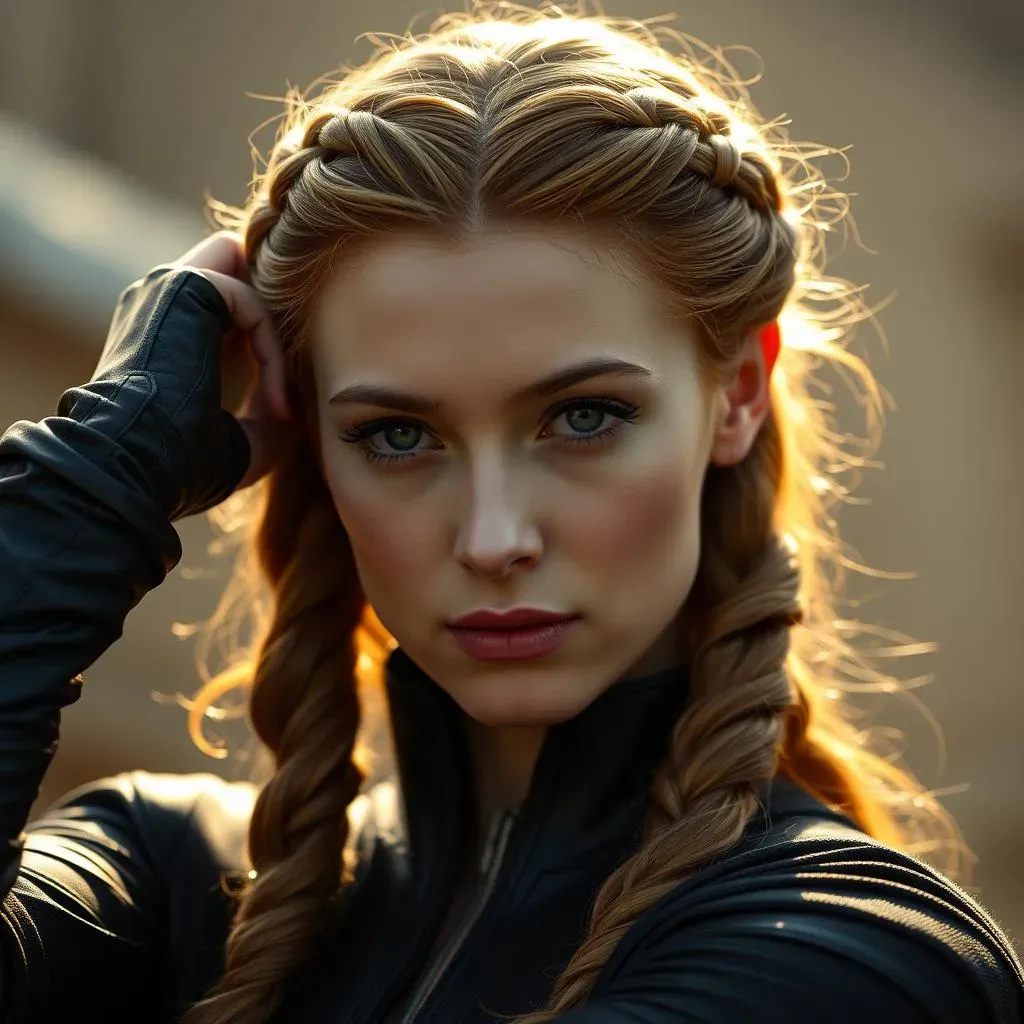
The Importance of Preparation
so you're aiming for that picture-perfect Yelena Belova braid, and that's awesome! But let's be real, a flawless braid isn't just about the braiding technique itself. It's about what you do *before* you even pick up a bobby pin. Think of it like prepping a canvas before you paint a masterpiece. You wouldn't just slap paint on a dirty canvas, right? The same goes for your hair. Start with clean, dry hair, that’s the golden rule. If your hair is oily or has product buildup, the braid will slip, and it will look dull. So, wash it and make sure it is completely dry before you start braiding. And don’t forget to brush it out, no tangles allowed here.
Another important step is to get your tools ready before you even start. Nothing is worse than starting a braid and realizing you are missing something, it can be really frustrating. Have your bobby pins, elastic bands, brush, and any hair product you might need all within reach. This will make the process smoother and less stressful. And a little tip from me, try doing the braid in good lighting, you need to see what you are doing, right? Trust me, these little prep steps will make a huge difference in how your final braid turns out. It's all about setting yourself up for success.
Fine-Tuning the Details
Now, let’s talk about the little details that can elevate your braid from good to great. It's not just about following the steps, it's about paying attention to the nuances. For example, the tightness of the braid is really important. You want it to be snug and secure, but not so tight that it feels uncomfortable or looks like it's pulling your scalp. It's a fine line, but you'll get the hang of it with practice. And remember, the goal is to create a braid that looks effortless and chic. So, don't be afraid to adjust the tension as you go.
Another crucial detail is the placement of the braid. Make sure the round braid is sitting flat against your head, and the fishtail braid is neatly tucked in. This will give your braid that sleek, almost architectural look. And don't forget the flyaways, they are not just random strands of hair, they are part of the look. Play around with them and see what you like. You can use a tiny bit of hair product to shape them or leave them more natural. The key is to make them look intentional, not messy. These little details are what will make your braid truly stand out.
Key elements for the perfect braid
- Clean and dry hair is a must.
- Have all your tools ready.
- Pay attention to the tension of the braid.
- Make sure the braid is sitting flat against your head.
- Style the flyaways with intention.
- Practice makes perfect.
Embracing Imperfection
Here’s a secret: even Yelena Belova probably doesn’t have a perfect braid every time. So, don't stress too much about getting it exactly right. The beauty of this braid is that it's not meant to be overly polished or perfect. It has a bit of a messy, lived-in vibe, and that's part of its charm. So, embrace the imperfections, the little flyaways, and the slight variations in the braid. It's what makes your braid unique and yours. And remember, confidence is the best accessory. If you feel good about your braid, it will show. So, own it and rock it!
And if you are still struggling, don't be afraid to ask for help. Maybe a friend can help you with the back part of the braid, or you can watch a few more tutorials online. The most important thing is to enjoy the process and have fun with it. After all, it's just hair, right? So, don't take it too seriously and just go for it. And remember, it's all about the journey, not just the destination. So, keep practicing, keep experimenting, and keep rocking those amazing Yelena Belova braids!
Troubleshooting Checklist
Problem | Solution |
|---|---|
Braid looks messy | Make sure hair is tangle-free. |
Braid is slipping | Start with a secure base and use product. |
Flyaways are unmanageable | Use a small amount of hairspray or wax. |
Not confident with the results | Practice, practice, practice! |
Your Yelena Belova Braids: Mission Accomplished
So, there you have it, a complete breakdown of how to rock Yelena Belova’s iconic braids. It might take a couple of tries to get the hang of the round and fishtail combination, but don’t get discouraged. The key is practice, patience, and maybe a good mirror. Remember, even Yelena probably didn’t nail it on her first try. This hairstyle isn't just a cool look; it's a statement. It's about embracing strength, practicality, and a little bit of that spy-like confidence. Now go out there and show off those amazing braids – you’ve earned it. And who knows, maybe you’ll even inspire someone else to try this awesome look!