Table of Contents
SZA isn't just a music icon; she's a hair chameleon, and her braided styles are legendary. Ever scrolled through Instagram, seeing SZA rocking some killer braids, and wondered, "How can I get that look?". Well, you're not alone, and you're in the right place. We’re breaking down everything you need to know about recreating those iconic sza hairstyle braids. Forget those complicated tutorials that leave you more confused than when you started. This guide is all about making those amazing looks achievable for anyone. I'll be your guide, walking you through the different types of braids SZA loves, from the classic box braids to those intricate, goddess-like styles. We’ll get into the nitty-gritty of how to actually do these braids, or at least how to get them done. And because great hair needs great care, I'm also dropping some essential tips on keeping your sza hairstyle braids looking fresh, healthy, and fabulous. So, get ready to unleash your inner hair goddess, because we're about to get braided!
SZA's Signature Braided Styles: An Overview
SZA's Signature Braided Styles: An Overview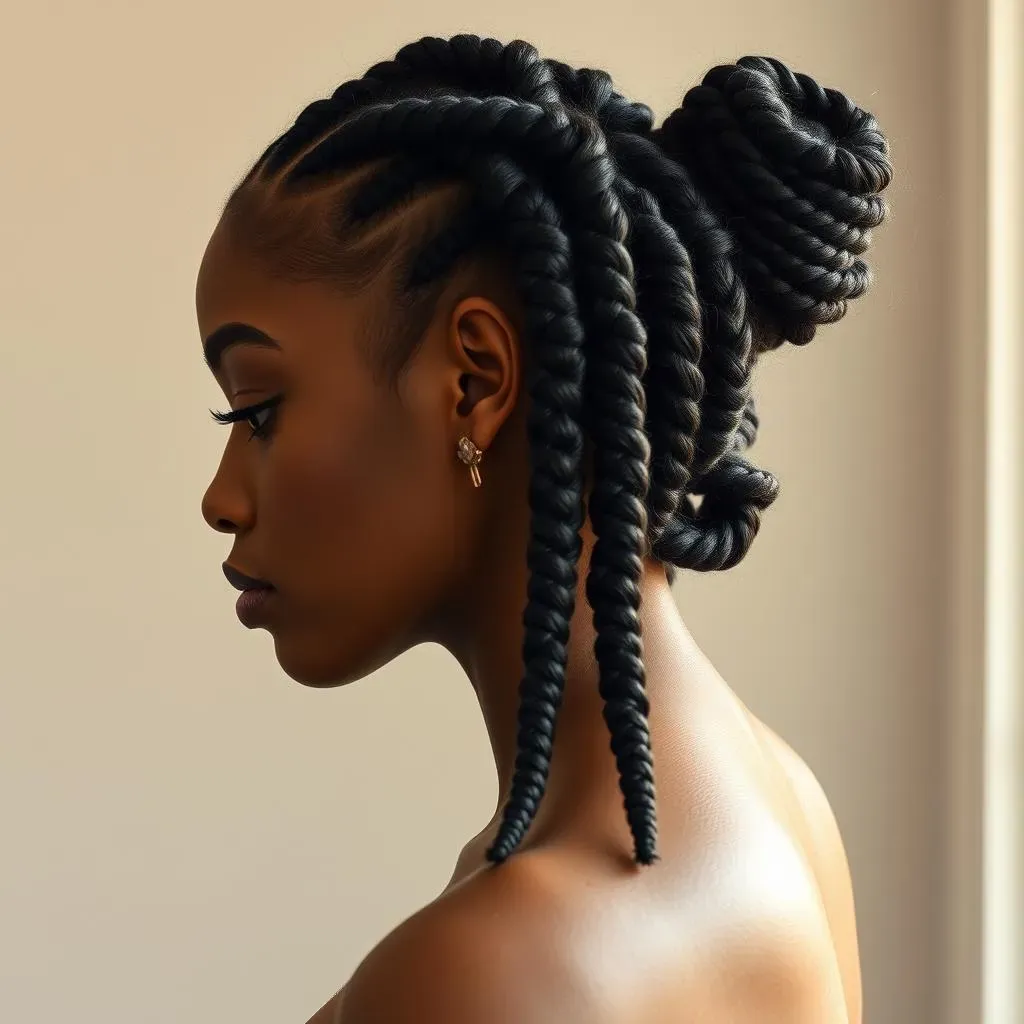
The Braided SZA: A Style Icon
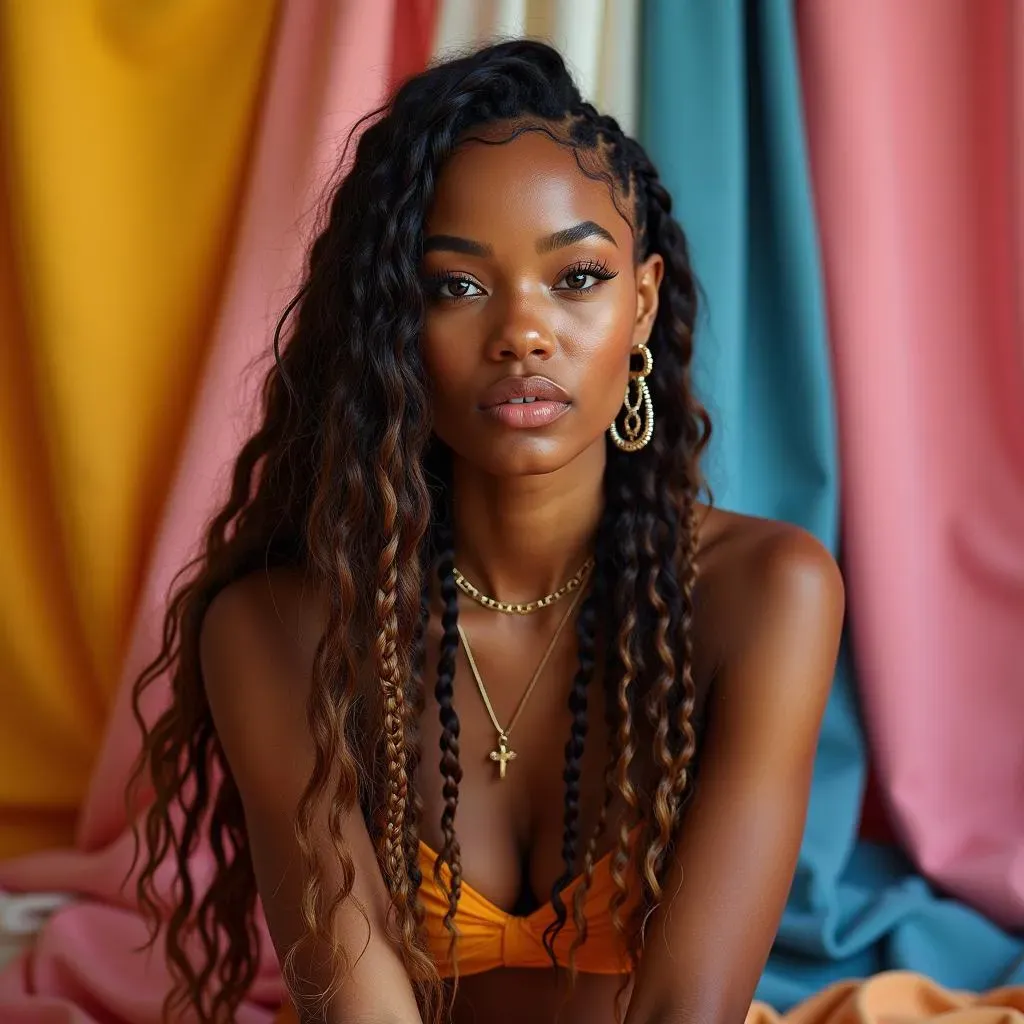
Okay, let's be real, when you think of SZA, you probably picture her rocking some seriously amazing hair. And more often than not, those looks involve braids. It's not just a hairstyle for her; it's a whole vibe. She’s not afraid to experiment, going from super long box braids that touch her waist to intricate cornrows that look like they belong in an art gallery. She's made braids her own, and that's what makes her style so iconic. She's proof that braids aren’t just a protective style; they’re a statement. So, let's explore this incredible hair journey.
A Look at the Variety of SZA Braids
Now, let's get into the specifics. SZA's braid game isn't a one-trick pony situation. She's shown us a whole range, from the classic, chunky box braids that are perfect for a casual look, to those thinner, more delicate braids that she sometimes styles into updos. Then you have the cornrows, sometimes straight back, other times with cool patterns that are just mesmerizing. And she’s not afraid to mix it up either, adding in different colors, textures, and even beads. It's like she's got a whole encyclopedia of braid styles in her head, and she’s not afraid to use it. It keeps things interesting and it keeps us all wanting more.
Braid Style | Description | SZA Vibe |
|---|---|---|
Box Braids | Classic, individual braids, often long and thick. | Casual, cool, effortlessly chic |
Cornrows | Braids close to the scalp, can be straight or patterned. | Edgy, intricate, artistic |
Goddess Braids | Thicker cornrows, often with added extensions. | Bold, regal, powerful |
Braided Updos | Braids styled into buns, ponytails, or other updos. | Elegant, versatile, sophisticated |
Why SZA's Braids Stand Out
What makes SZA's braids so special? It’s not just about the style; it's how she wears them. She has this confidence, this attitude that makes every braid look like a work of art. She doesn't just wear braids, she owns them. It's the way she pairs them with her outfits, her makeup, her whole persona. It’s effortless, but you know she’s given it thought. And that's why so many people are obsessed with her style, including me. She’s not just following trends; she’s setting them. She's showing us that braids can be anything we want them to be, and that's pretty inspiring.
Recreating SZA's Braids: StepbyStep Tutorials
Recreating SZA's Braids: StepbyStep Tutorials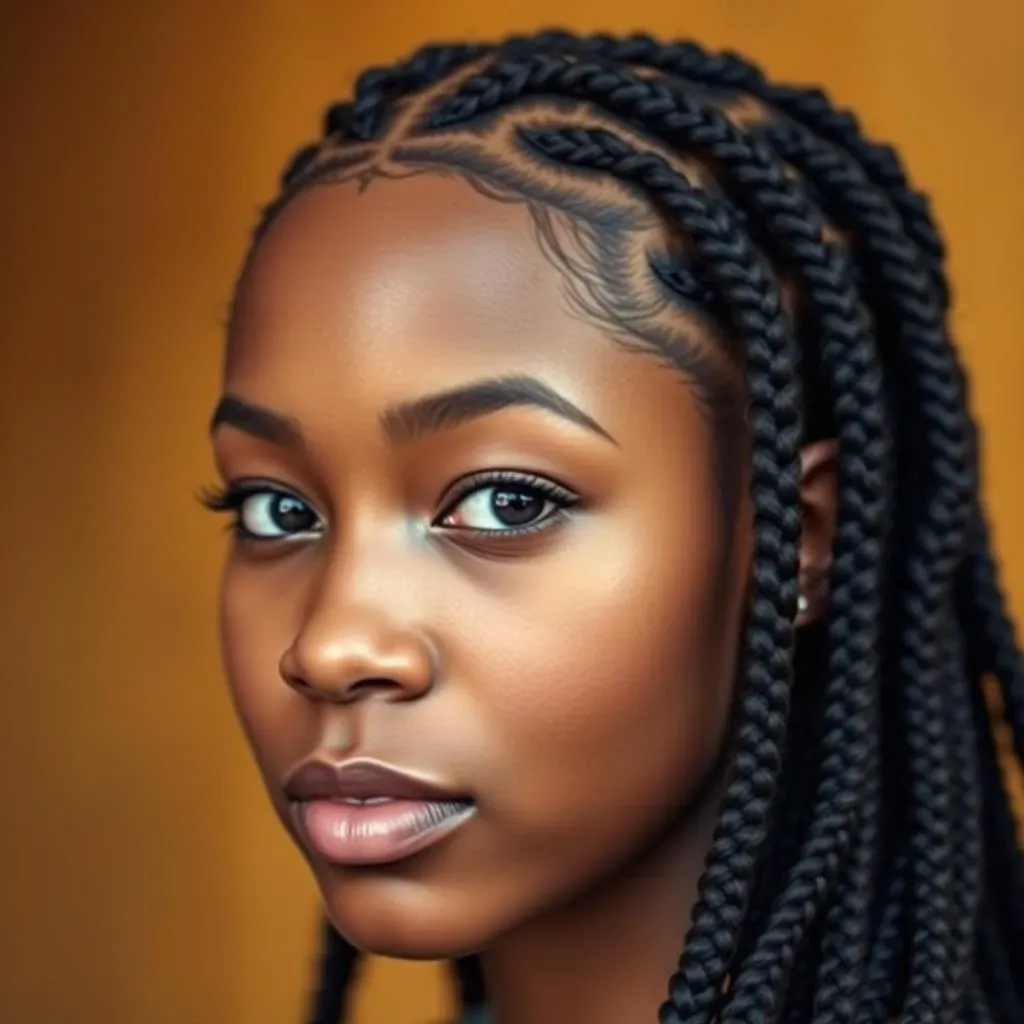
Ready to Braid? Let's Get Started
Alright, so you’re itching to try out some SZA-inspired braids, right? I get it. It's one thing to admire her looks from afar, and another thing entirely to actually try and recreate them. Don't worry, I'm not going to pretend it's a walk in the park, but with the right steps, you can absolutely get there. We’re going to break it down, step-by-step, starting with the most popular styles. Whether you’re a total newbie or you’ve dabbled in braiding before, there’s something here for you. Remember, practice makes progress, so don't get discouraged if it doesn't look perfect on the first try. Let's get those fingers moving!
The Basics: Tools and Prep
Before you even think about touching your hair, let's gather the essentials. You'll need a good comb, some clips to section your hair, and of course, the braiding hair. Now, the type of braiding hair depends on the look you’re going for. For box braids, you'll usually want kanekalon hair. For cornrows, you might use something a little lighter. Make sure to wash and detangle your natural hair beforehand. This will make the braiding process much smoother. And if your hair is dry, a little leave-in conditioner can be a lifesaver. Think of it like prepping a canvas before painting; you want a good base to work with.
Pro-tip: If you're using synthetic braiding hair, soak it in hot water with a bit of apple cider vinegar. This helps remove the coating and makes the hair less itchy. Trust me, your scalp will thank you later.
Step-by-Step: Box Braids
Box braids are a great starting point. They're versatile, relatively easy to do, and they look amazing. Here's how you can do it:
- Sectioning: Start by parting your hair into the size of box you want for your braids. Use clips to keep the other sections out of the way.
- Adding Hair: Take a strand of braiding hair, fold it in half, and place the loop around the root of one section of your natural hair.
- Braiding: Start braiding down, incorporating the braiding hair with your natural hair. Keep it tight but not too tight.
- Repeat: Keep repeating the process until you've braided all your sections.
- Finishing: You can seal the ends with hot water, or use a bit of hair glue.
Remember, the key is to keep your sections neat and your braids consistent. It might take a bit of practice, but you'll get the hang of it.
Step-by-Step: Cornrows
Cornrows are a bit more advanced, but don’t let that scare you. Here’s the breakdown:
- Sectioning: Part your hair into the pattern you want your cornrows to follow. You can go straight back, curved, or even do some cool designs.
- Starting the Braid: Take a small section of hair and divide it into three pieces like you would for a regular braid.
- Adding Hair: As you braid, pick up a small amount of hair from your scalp and add it to the braid. Keep going down your head, adding more hair as you go.
- Repeat: Repeat this process until you've cornrowed all your sections.
- Finishing: You can braid the ends down, or secure them with a small rubber band.
The trick with cornrows is to keep the tension even and to follow the curve of your head. It takes some practice, but the results are worth it.
Tips for Braiding Success
Before you get too deep into this, remember these key points. First, don’t braid your hair when it's soaking wet, it can cause breakage. Second, take breaks. Braiding can be tiring, especially if you're doing it on your own. And lastly, watch some videos. Sometimes seeing it done is a lot easier than reading about it. YouTube is your friend here, there's tons of amazing tutorial out there. Don’t be afraid to pause, rewind, and try again. You’ve got this!
“The best way to learn is by doing. Don’t be afraid to make mistakes, that’s how you get better.” - A random person who also loves braids.
Maintaining Your SZA Inspired Braids: Tips and Tricks
Maintaining Your SZA Inspired Braids: Tips and Tricks
Keeping Your Braids Fresh: The First Few Weeks
Okay, so you've got your gorgeous SZA-inspired braids, and you're feeling like a total hair goddess. But let's be real, maintaining those braids is just as important as getting them done in the first place. The first couple of weeks are crucial for keeping your braids looking neat and avoiding any unnecessary frizz or buildup. Think of it like this: you wouldn't buy a new car and then never wash it, right? Same goes for your braids. You need to show them some love to keep them looking their best. It's all about creating a routine, and sticking to it.
One of the biggest mistakes people make is thinking they can just ignore their braids. Nope, that’s not going to work. You need to keep your scalp clean and moisturized. Remember, your natural hair is still growing underneath those braids, so you gotta take care of it. A dry scalp can lead to itching and flaking, which is not cute. And trust me, you do not want to be that person constantly scratching their head. It's all about being proactive, not reactive.
Nighttime Routine: Protecting Your Braids While You Sleep
Nighttime is prime time for your braids to get all tangled and frizzy. Seriously, if you don't take the right steps, you'll wake up looking like you've been wrestling a bear. The best way to prevent this is by using a silk or satin scarf or bonnet. Cotton pillowcases can absorb the moisture from your hair, leading to dryness and breakage. Silk or satin, on the other hand, will help your braids glide over the fabric, reducing friction and keeping them smooth. It’s like putting your hair in a cozy little protective cocoon for the night.
Another tip is to gently tie your braids into a loose bun or ponytail before you go to bed. This will prevent them from getting tangled and help maintain their shape. You don’t want to tie it too tight, though, as that can cause tension on your scalp. Think of it like gently tucking your braids in for the night, giving them a little hug before they get some rest. And remember, consistency is key. Make this a habit, and your braids will thank you.
Nighttime Protection | Why it Works |
|---|---|
Silk or Satin Scarf/Bonnet | Reduces friction, prevents dryness and breakage. |
Loose Bun or Ponytail | Prevents tangling, maintains braid shape. |
Washing and Maintaining: Keeping It Clean
I know what you’re thinking: “Wash my braids? Won't that make them frizzy?” Well, yes, if you do it wrong. But if you do it right, washing your braids is essential for maintaining scalp health and keeping them smelling fresh. The key is to focus on your scalp, not the braids themselves. Use a diluted shampoo or a cleansing conditioner and gently massage it into your scalp. Then rinse it out thoroughly. Avoid scrubbing your braids too hard, as this can cause them to loosen and frizz.
After washing, make sure to dry your braids completely. You can use a microfiber towel to gently pat them dry, or use a blow dryer on a low heat setting. Do not leave your braids damp, as this can lead to mildew and an itchy scalp. And if you’re feeling fancy, you can use a lightweight oil or braid spray to add some moisture and shine. It’s all about finding the products that work best for your hair type. And remember, a little goes a long way. You want to nourish your braids, not weigh them down.
Wrapping Up Your SZA-Inspired Braids Journey
So, there you have it, a full guide to rocking SZA-inspired braids. From understanding her signature styles to mastering the techniques and maintaining those gorgeous looks, you're now equipped to step up your hair game. Remember, it's not just about copying SZA's look, it's about making it your own. Don't be afraid to experiment with colors, lengths, and accessories to create a braided style that truly reflects your personality. Whether you're going for a casual vibe or a red-carpet ready look, these tips will have you feeling confident and fabulous. Now go forth, braid bravely, and show the world your stunning SZA-inspired style!