
Table of Contents
Ever dreamed of sporting a hairstyle that's both elegant and unique? Well, get ready to turn heads because we're diving into the world of the "rose braids hairstyle"! It might look intricate, but trust me, with a little patience, you can totally nail this look. This guide will walk you through each step, from prepping your hair to adding those final, delicate touches. We'll start by gathering the right tools and getting your hair ready. Then, we’ll learn how to create the base braid, the foundation for our beautiful rose. Next, we’ll get to the fun part: forming the rose itself, which is the heart of this stunning style. Finally, we'll cover the finishing touches and some styling tips to make sure your rose braid looks absolutely amazing. Whether you're heading to a special event or just want to try something new, this guide is your ticket to mastering the rose braids hairstyle.
Getting Started: Tools and Hair Prep for Rose Braids
Getting Started: Tools and Hair Prep for Rose Braids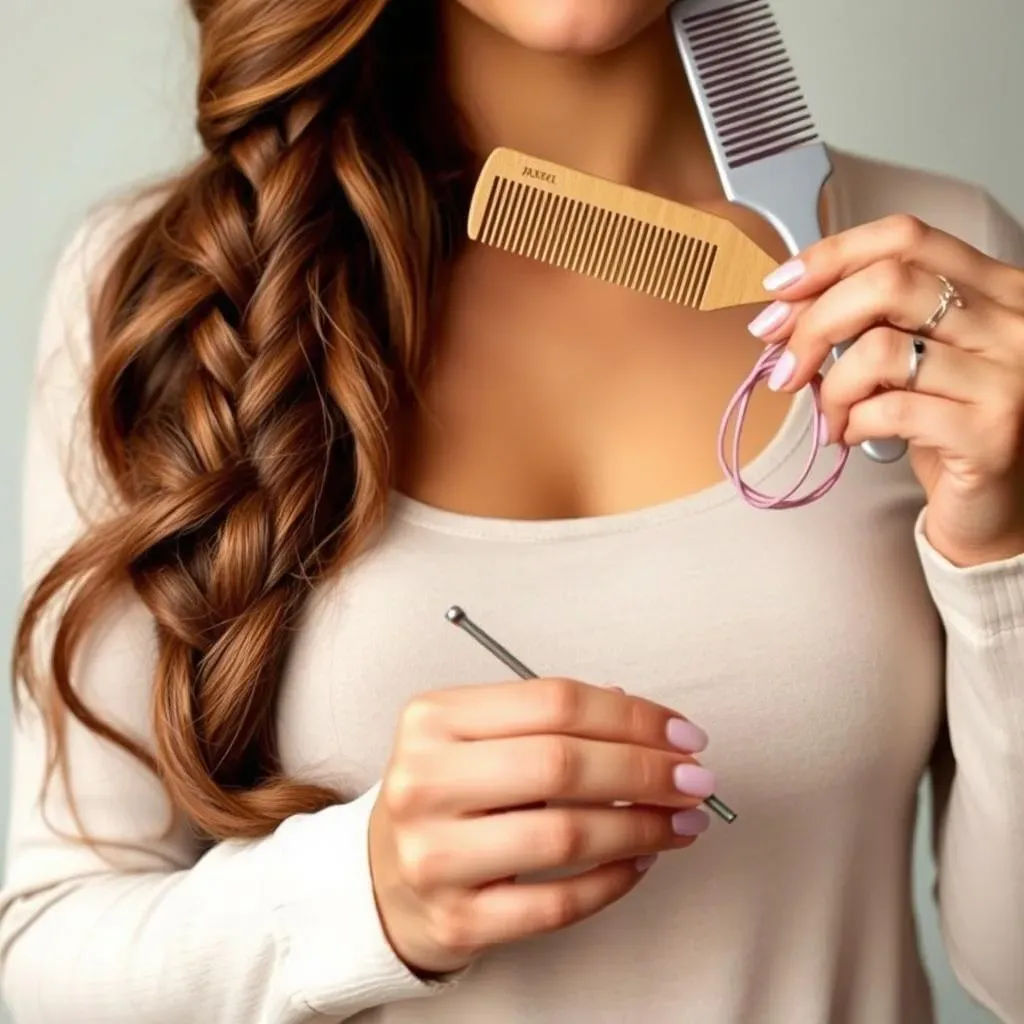
Okay, so you're ready to dive into the rose braids hairstyle? Awesome! Before we even think about braiding, let's talk prep. It’s like getting your ingredients ready before baking a cake. First off, you'll need a few things: a good brush, some hair elastics, and bobby pins. Nothing fancy, just the basics. A fine-tooth comb can be a lifesaver for making sure your parts are clean. And, let’s be real, hairspray is your friend for those pesky flyaways. Now, for the hair itself, you'll want to start with clean, dry hair. If your hair tends to be slippery, a little bit of texturizing spray or dry shampoo can give it some grip. Trust me, this little bit of prep work makes a world of difference when you're trying to get that rose just right. It's all about setting yourself up for success, no one wants to fight with their hair while trying to create a masterpiece.
Tool | Purpose |
|---|---|
Brush | To remove tangles and smooth hair |
Hair elastics | To secure sections of the braid |
Bobby pins | To hold the rose shape in place |
Fine-tooth comb | For creating clean parts |
Hairspray | To tame flyaways and keep the style |
Texturizing spray or dry shampoo | To add grip to slippery hair |
Creating the Base Braid for Your Rose Hairstyle
Creating the Base Braid for Your Rose Hairstyle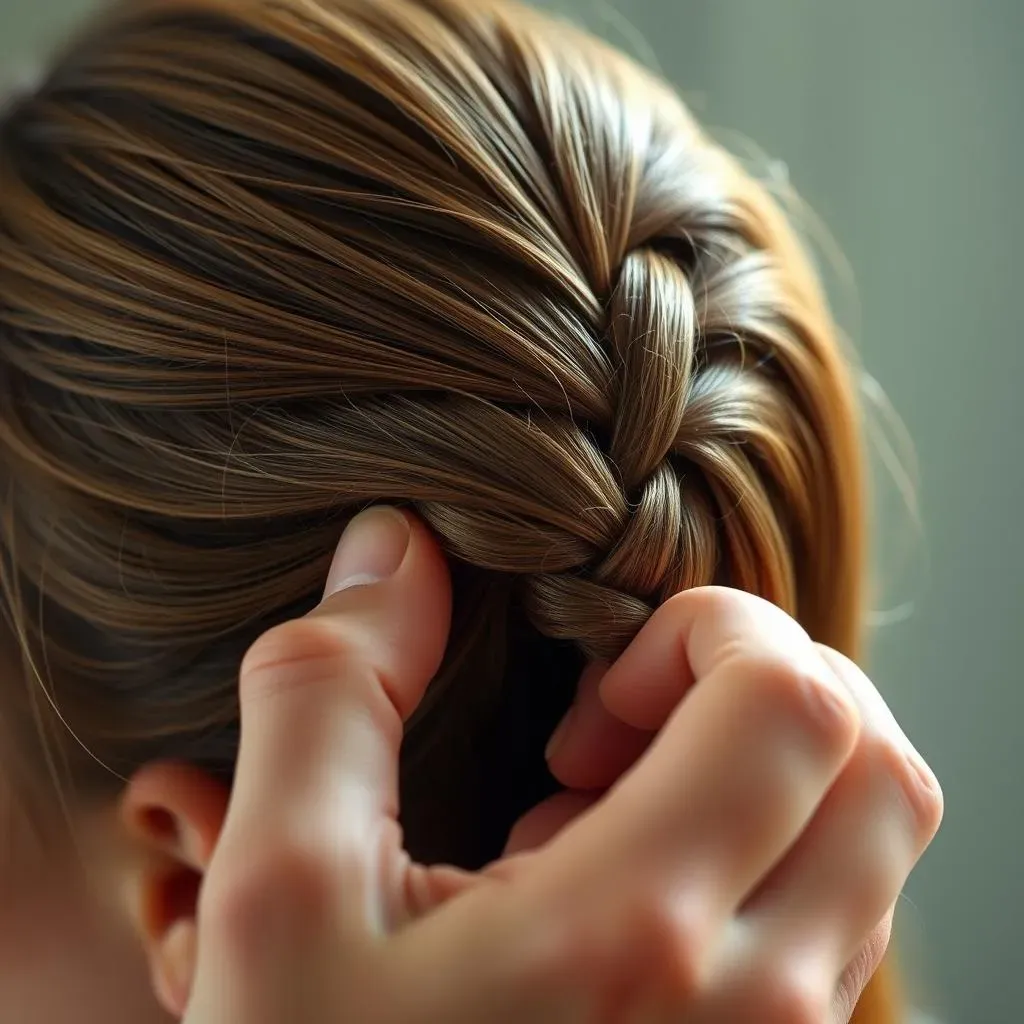
Alright, now that we're all prepped, let's get to the braid. This isn’t just any braid; it’s the foundation of our gorgeous rose. You'll want to start by sectioning off the hair where you want your rose to sit. I usually go for a side braid, it just seems to make the rose pop more, but you can totally experiment. Once you've got your section, start a regular three-strand braid, nothing too tight, just a nice, even braid. Braid down a good length, and remember, the longer the braid, the bigger your rose will be. I would say around 6 - 8 inches is a good starting point, but really, it's all up to you and how big you want that flower. Keep it consistent, and try not to pull too hard, we're going for elegance, not a constricting braid. Think of it as laying the groundwork for a masterpiece, each strand carefully placed to support the final creation.
It is important to keep the braid loose, this will help with creating the rose shape later. If you braid too tight, it can be difficult to manipulate the braid into the rose shape. So keep it nice and relaxed!
Forming the Rose: The Heart of Your Rose Braids
Forming the Rose: The Heart of Your Rose Braids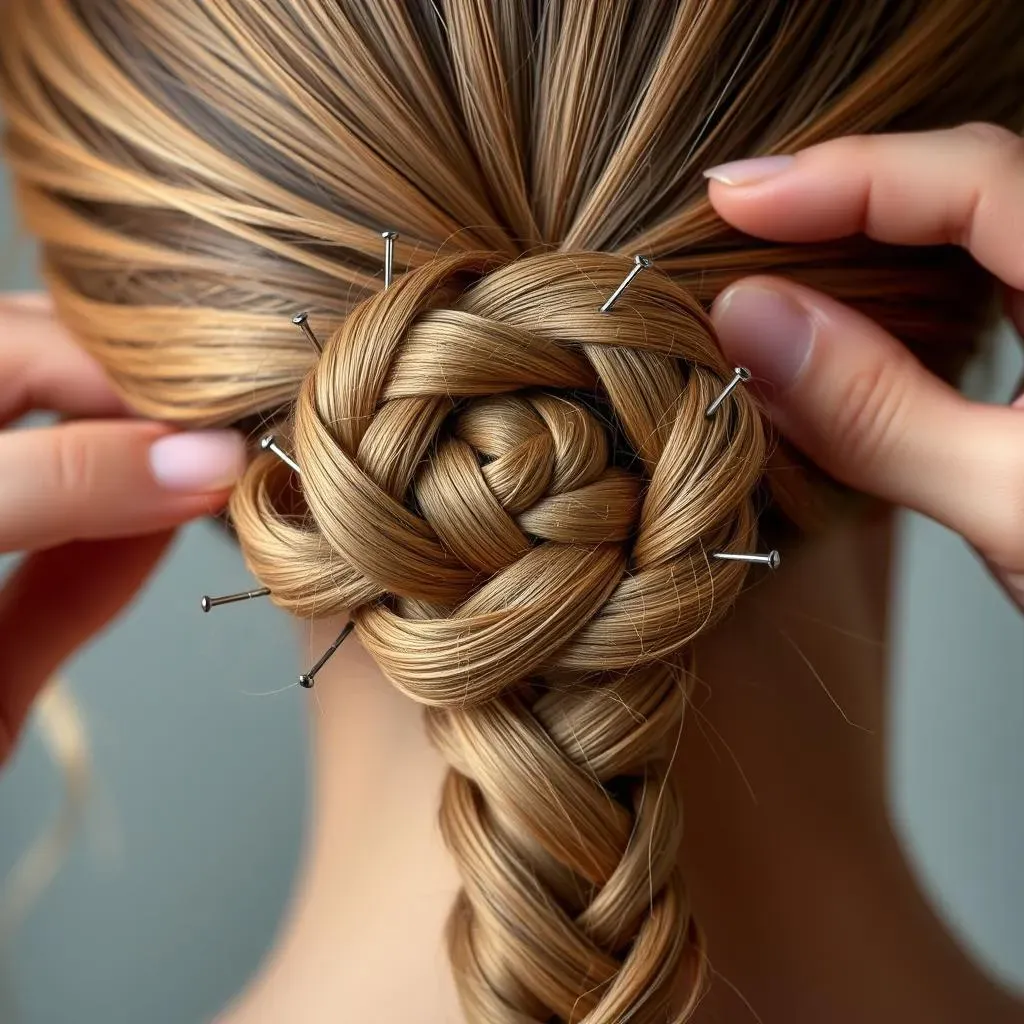
The Twisting Technique
Okay, this is where the magic happens. You've got your braid, right? Now, gently start twisting it around itself, like you're coiling a rope. The base of the braid will start to form the center of your rose, and you’ll spiral outward from there. It is like making a cinnamon roll, but with hair. Don't rush this, take your time and adjust as you go. You'll start to see the rose shape emerging. Make sure to keep the braid relatively flat as you twist, this will give the rose a fuller, more realistic look. Think of it as sculpting, you're molding the braid into a beautiful bloom. It might take a few tries to get the hang of it, but you'll get there. This isn't about perfection, it's about creating something beautiful and unique.
Securing Your Rose
Once you've got your rose shape the way you like it, it's time to secure it. This is where those bobby pins come in handy. Start by tucking the end of the braid underneath the rose and pin it in place. Then, add more pins around the perimeter of the rose, making sure to catch enough hair to hold it securely. You want to make sure the rose is sturdy and won't unravel. Try to hide the bobby pins as much as possible, tucking them into the folds of the braid. The goal is to make them disappear, like tiny ninjas holding your masterpiece together. Don't be afraid to use a bunch of them, it’s better to be safe than sorry. This is the last step before you can admire your work, so take a deep breath and pin it all together.
"The beauty of a rose lies not just in its petals, but in the way they unfold." Just like a real rose, each twist and turn of your braid contributes to its overall beauty.
- Start the twist loosely.
- Tuck the end of the braid.
- Use enough bobby pins.
- Hide the bobby pins.
Finishing Touches and Styling Your Rose Braids Hairstyle
Finishing Touches and Styling Your Rose Braids Hairstyle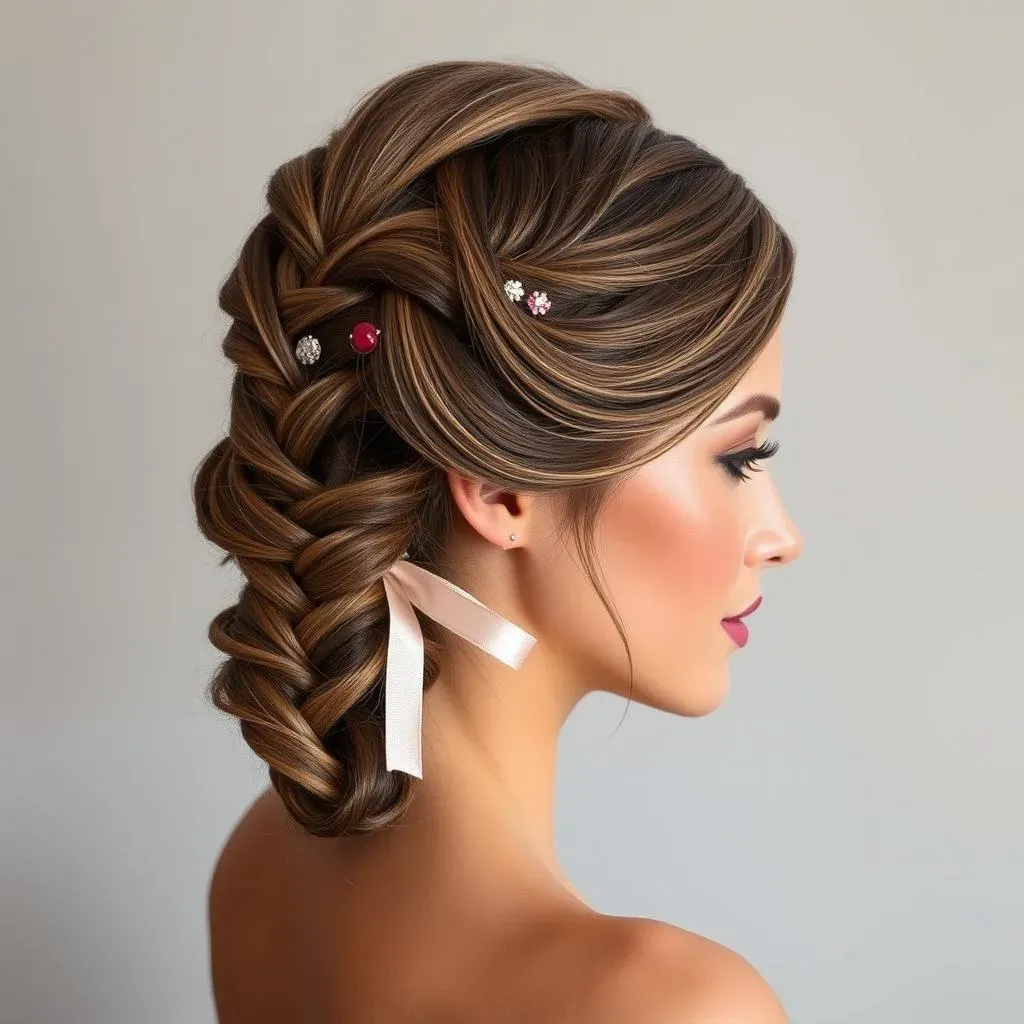
Taming the Flyaways
Alright, you've got your rose braid all pinned up, but what about those little hairs that just won't stay put? This is where a good hairspray comes in. Don't go overboard, just a light misting should do the trick. Focus on the areas around your face and the base of the braid where those pesky flyaways tend to pop up. If you want a more polished look, you can also use a small amount of hair wax or pomade to smooth down any stray hairs. Think of it as adding the finishing touches to a painting; it's the little details that really make it shine. Remember, we are going for elegance, not a helmet head.
Adding Some Sparkle
Now, let's talk about adding some extra flair. If you're feeling fancy, you can add some decorative hair pins or clips around the rose. Little pearl pins or sparkly clips can really elevate the look, especially if you're heading to a special event. You could even weave a thin ribbon through the braid before you form the rose for a subtle pop of color. It's like adding jewelry to your outfit; it's all about expressing your personal style. Don't be afraid to experiment and have fun with it. After all, your rose braid is a blank canvas, waiting for your creative touch. Less is more, but sometimes, more is more, you know?
Accessory | Purpose |
|---|---|
Decorative Hair Pins | Add sparkle and elegance |
Hair Clips | Secure and decorate the rose |
Ribbons | Add color and texture |
Maintaining Your Masterpiece
So, you've created this beautiful rose braid, and you want it to last as long as possible. A good tip is to avoid touching it too much, it's like a delicate flower, the more you mess with it, the more likely it is to fall apart. If you're planning to wear it overnight, you can gently wrap your hair in a silk scarf to protect the style and prevent frizz. A little hairspray touch-up in the morning can also help to keep everything in place. Remember, your rose braid is a work of art, so treat it with care. It's like a beautiful sculpture; you want to keep it looking its best for as long as you can.
Wrapping Up Your Rose Braid Journey
So, there you have it, your very own rose braid hairstyle! From prepping your hair to carefully shaping that final petal, you've learned how to transform simple braids into a stunning floral masterpiece. It might take a few tries to get it perfect, and that's totally okay. Remember, practice makes progress. Don't be afraid to experiment with different braid sizes or rose placements to make it uniquely yours. This hairstyle isn't just about looking good; it's about expressing your creativity and having fun with your hair. Now, go out there and show off your beautiful rose braids. You've earned it!