Table of Contents
Ever wondered how to create those cool, intricate regular hair braids you see everywhere? They seem complicated, right? Actually, they're not as tricky as they look, and I'm here to show you how to master them. Whether you're aiming for a simple braid for a casual day or something a bit more elaborate for a special event, this guide has you covered. We'll start with the very basics, exploring what makes a braid a braid, and then we’ll move on to some of the most popular styles. Think French braids, Dutch braids, and even some fun twists on the classics. I'll also share my tips for keeping your regular hair braids looking neat and healthy. So, grab a brush, maybe a mirror, and let's get braiding! This isn't just about hair; it's about learning a skill that you can use to express yourself. It’s about finding your own style, one braid at a time. Are you ready to transform your hair game?
The Basics of Regular Hair Braids
The Basics of Regular Hair Braids
What is a Braid Anyway?
Okay, so let's talk about the very core of regular hair braids. A braid, at its simplest, is just a way of interlacing three or more strands of hair. Think of it like weaving but with your hair. You're essentially creating a pattern where each strand takes turns going over or under the others. It's like a dance, with each strand knowing its part. That's why it’s important to have a good grip on each of them, otherwise you will end up with a mess. It might seem a bit complicated at first, but once you get the hang of it, it's pretty straightforward.
I remember my first attempt at braiding my own hair, it looked like a bird's nest! But, with a bit of practice, it became second nature. That's the beauty of it, you can go as simple or as complex as you want, and that’s what makes regular hair braids such a great style. So, to start, all you really need is some hair, a bit of patience, and a willingness to try.
Essential Tools and Prep
Before you even think about picking up a strand of hair, let's talk about what you'll need. First off, a good brush is your best friend. You want to make sure your hair is free of knots and tangles. This will make the braiding process way smoother. Imagine trying to braid a bunch of tangled yarn—it's not going to be pretty! A comb can also help you separate sections neatly. Next, depending on your hair type, you might want to use a little bit of product. For example, if your hair is very fine, a little texturizing spray can help add grip. If it's curly, a bit of leave-in conditioner can make it more manageable. And finally, don't forget hair ties or clips to secure your braids once you're done.
I’ve seen people try to braid with hair that’s a complete mess, and it never ends well. Take your time to prep your hair, it makes a world of difference. Think of it as preparing your canvas before you start painting. Once you have all these things ready, you're good to go!
Tool | Why You Need It |
|---|---|
Brush | To remove tangles and knots. |
Comb | To separate sections neatly. |
Hair Product (optional) | To add grip or manage hair. |
Hair Ties or Clips | To secure the braid. |
Different Types of Regular Hair Braids
Different Types of Regular Hair Braids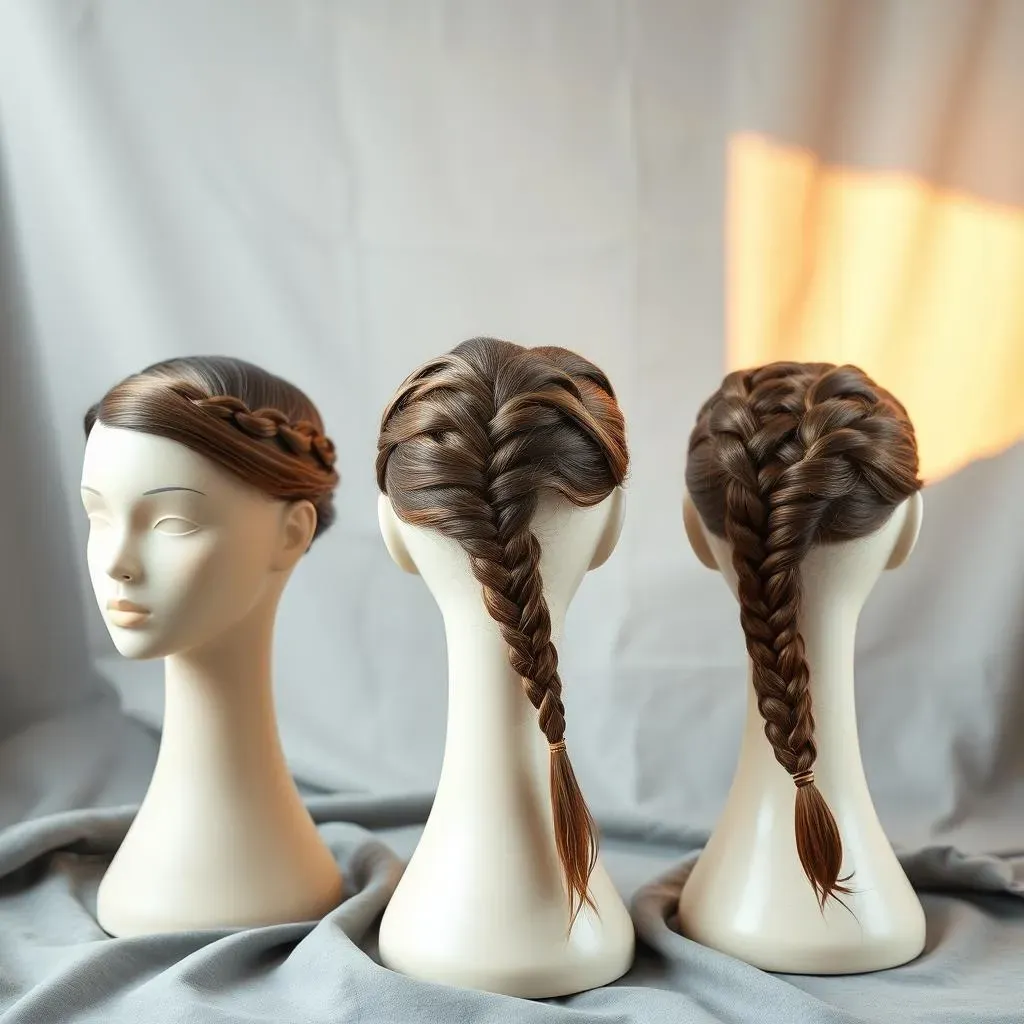
The Classic Three-Strand Braid
Alright, let's dive into the world of different braids, starting with the most basic one: the three-strand braid. This is the foundation for almost all other braid styles. You take three sections of hair, and then it's just a simple matter of crossing the right strand over the middle, then the left strand over the new middle, and repeat. I know, it sounds simple, and trust me, it is. It’s like the ABC’s of braiding. It's the braid I started with, and it’s the one most people learn first. It may seem too simple, but it’s a great way to get used to managing the hair strands, and it’s a great everyday style.
I remember when I first learned this braid, I felt like I had unlocked some secret code. My hair looked so neat and put together, and it was all thanks to this simple technique. It’s perfect for a quick hairstyle, or even as a base for more complex designs. You can wear it down your back, or tie it up in a pony, it is that flexible.
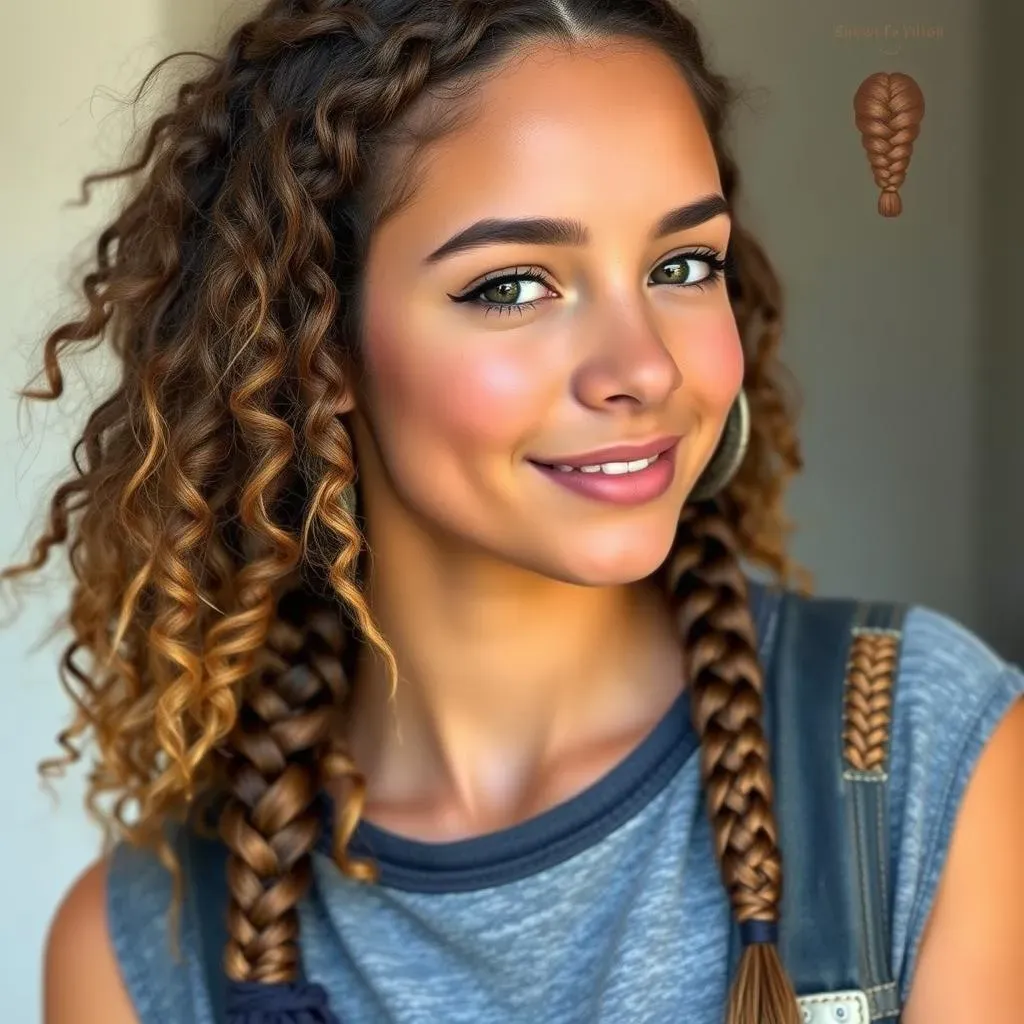
French Braid Magic
Now, let's step it up a notch with the French braid. This is where things start to get a little more interesting. Instead of just braiding three sections of hair, you start with a small section at the crown of your head, and then gradually add more hair as you braid down. It’s like weaving a braid into your head, and it is quite cool how it looks. The key here is to keep the tension even, making sure you are adding hair smoothly from both sides. It can be a bit tricky at first, but with some practice, you'll get the hang of it.
I used to think French braids were something only hairdressers could do. It's actually one of the most versatile braids, it can be fancy enough for a party or chill enough for a day at the park. There are many videos online that show how to do this, and I highly recommend it. It’s also super useful for keeping hair out of your face, especially during workouts or when you're busy doing stuff.
"The beauty of braiding is that it's both a skill and an art form. It's a journey of learning and self-expression." - A random hair stylist.
Dutch Braid: The Inside-Out French Braid
Last but not least, let's talk about the Dutch braid. Think of it as the reverse of a French braid. Instead of adding hair by crossing strands over, you add hair by crossing them under. It's like the French braid’s rebellious cousin, and creates a braid that pops out from your head, giving it a 3D effect. The technique is similar to the French braid, but the result is quite different. You'll start with a section at the top, and then add hair as you braid down, but this time, you go under instead of over. It might feel a bit strange at first, but the more you try it, the easier it gets.
I find Dutch braids to be really fun, and they give a really bold look. They are great for when you want to make a statement, or if you just want to try something new. I’ve also seen lots of people using this braid as a base for all sorts of creative hairstyles. It's a little bit of a challenge, but it’s worth it when you see the final result, it looks like a work of art.
Braid Type | Strand Movement | Look |
|---|---|---|
Three-Strand | Over | Simple and classic |
French Braid | Over, adding hair | Neat and integrated with the head |
Dutch Braid | Under, adding hair | Bold and raised from the head |
How to Care for Your Regular Hair Braids
How to Care for Your Regular Hair Braids
Keeping Your Braids Fresh
So, you've got your regular hair braids looking awesome, but how do you keep them that way? Well, it's all about maintenance. Think of it like having a plant; you need to water it and give it some care to keep it healthy. With braids, it is important to keep them clean. Washing your hair while it’s braided might seem like a no-go, but it's totally doable. The key is to be gentle, and focus on cleaning your scalp, not the braids themselves. You can use a diluted shampoo and gently massage your scalp with your fingertips. Rinse well, and then pat dry with a soft towel. Avoid rough towel drying, it can cause frizz and loosen the braids. Remember, the goal is to keep your scalp clean without messing up the braid's structure.
I remember when I first got braids, I was afraid to wash my hair, thinking it would all fall apart. But, you know what? They actually stayed in place, and my scalp felt so much better. It's all about being careful and using the right techniques. Think of your braids as a delicate hairstyle that needs a bit of love and care. And, just like a plant, if you treat it right, it will flourish!
Nighttime Care and Protection
Now, let's talk about nighttime care, because that's when your braids are most vulnerable. Imagine tossing and turning all night, with your braids rubbing against your pillow. Not good, right? That's why it's super important to protect your braids while you sleep. A silk or satin scarf or bonnet is your best friend here. These materials are soft and gentle on your hair and won't cause friction, which can lead to frizz and breakage. You can also try wrapping your braids into a loose bun or ponytail before putting on the scarf or bonnet. This helps to keep them in place and prevents them from getting tangled. Think of it like putting your braids to bed, nice and cozy.
I used to just sleep with my braids loose, and they would be a total mess in the morning. Once I started using a satin bonnet, I noticed a huge difference. My braids stayed neater and lasted much longer. It's a small change that makes a big impact. Think of it as giving your braids a good night's sleep so they're ready for the next day. It's like a spa day for your hair, every night!
Care Step | Why It's Important |
|---|---|
Gentle Washing | Keeps scalp clean without loosening braids. |
Pat Dry | Prevents frizz and damage. |
Silk/Satin Scarf or Bonnet | Reduces friction and prevents tangles. |
Loose Bun/Ponytail | Keeps braids in place during sleep. |
Wrapping Up Your Regular Hair Braiding Journey
So, there you have it – a complete rundown of regular hair braids. From the foundational three-strand braid to the more complex French and Dutch styles, you've now got the skills to experiment and create your own unique looks. Remember, practice makes perfect. Don't get discouraged if your first few attempts aren’t flawless; even the best braiders started somewhere. The key is to have fun with it, try new things, and discover what works best for your hair. Whether you're braiding your own hair or helping out a friend, the joy of creating beautiful braids is something everyone can enjoy. So, go forth and braid with confidence, and don't be afraid to add your own twist to these timeless styles.