Table of Contents
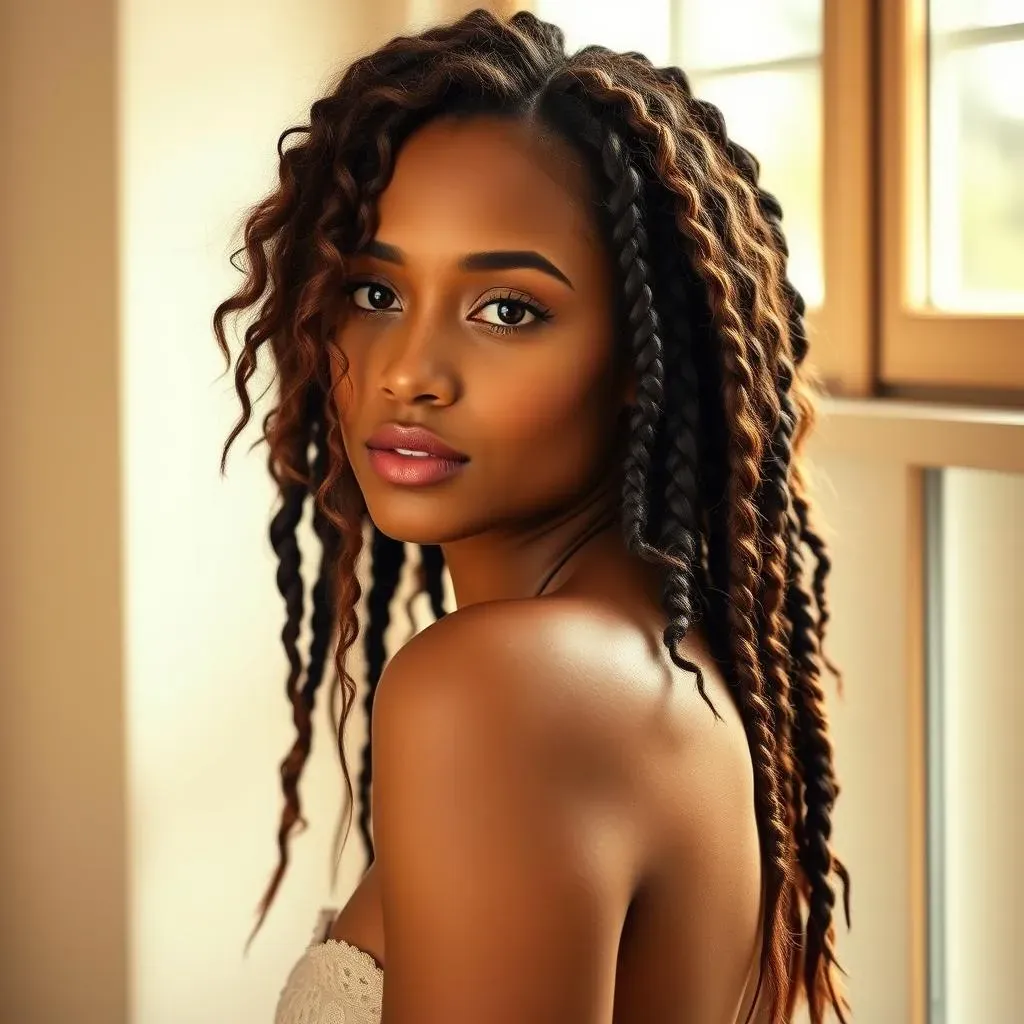
Ever scrolled through endless photos of amazing braided hairstyles, thinking, "I wish I could do that"? You're not alone! Many of us admire intricate nice hairstyle braids but feel like they're too difficult to achieve. Well, get ready to toss that idea aside. This article is your guide to 42 cool braided styles that are not only stunning but also surprisingly easy to create. We've teamed up with some top braiding experts to bring you step-by-step tips and tricks, making these looks accessible to everyone, no matter your skill level. Whether you're aiming for a casual everyday braid or something a bit more special for an event, this guide will walk you through the techniques and help you find the perfect nice hairstyle braids for you. Forget the complicated tutorials; we're making braiding fun and achievable. Let's get started!
Meet the Braid Experts: Tips and Tricks
Meet the Braid Experts: Tips and Tricks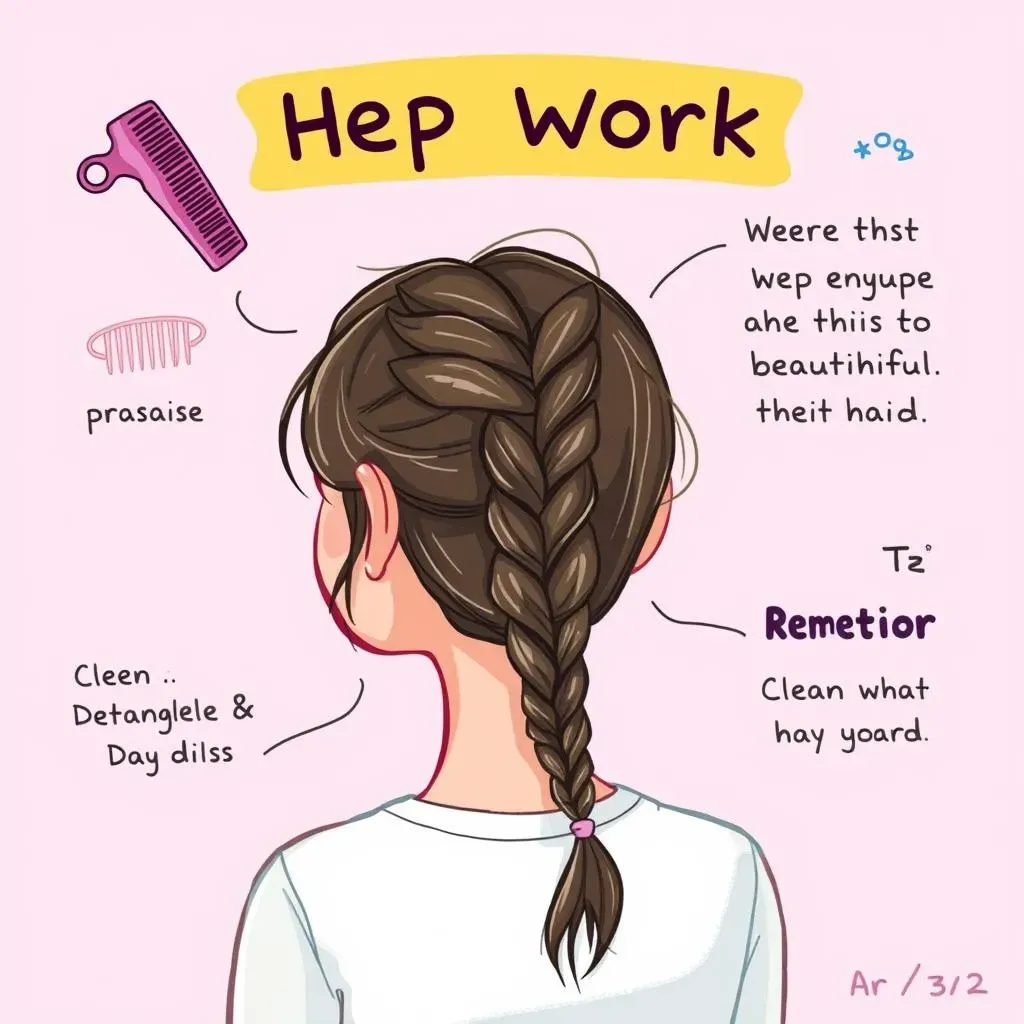
The Importance of Prep Work
Before you even think about picking up a strand of hair, let's talk prep. Our braid gurus swear by starting with clean, detangled hair. It might seem obvious, but trust me, it makes a world of difference. Think of it like preparing a canvas before you paint – you wouldn't start on a dirty, crumpled surface, right? So, wash your hair with a good shampoo and conditioner, and then use a wide-tooth comb or a detangling brush to get rid of any knots. This ensures that your braids will be smooth and neat, not a tangled mess. And a little secret: slightly damp hair is actually easier to braid than bone-dry hair. So, don't be afraid to spritz some water if needed.
Another key tip from the pros? Product! A little bit of styling cream or mousse can help tame flyaways and give your braids some grip. But don't go overboard – you don't want your hair to feel stiff or sticky. Start with a small amount and add more if necessary. Remember, it's easier to add than to take away! The right product can be a game-changer, turning a potentially frizzy braid into a sleek masterpiece. It’s all about creating the perfect base for your masterpiece.
Expert Tip | Why It Matters |
|---|---|
Clean Hair | Reduces tangles and makes braiding smoother. |
Detangled Hair | Prevents knots and breakage during braiding. |
Slightly Damp Hair | Provides grip and makes hair easier to manipulate. |
Styling Product | Tames flyaways and adds hold to braids. |
Essential Tools for Braiding
Now that your hair is prepped, let's talk tools. You don't need a fancy salon setup to create amazing braids, but a few key items can make the process much easier. First up is a good comb – a rat-tail comb is perfect for sectioning and creating clean parts. Next, have some hair ties or elastics on hand. Clear ones are great because they blend in, but you can also use colorful ones for a pop of fun. Hair clips are also super useful for keeping sections of hair out of the way while you're working. And don't forget a mirror! It's helpful to have a hand mirror to check out the back of your head and make sure everything looks good. You can get most of these items at your local drugstore or beauty supply store, so no need to break the bank!
Patience and Practice
Here's the thing: even the best braiders didn't start out perfect. It takes time and practice to get the hang of it. So, don't get discouraged if your first few attempts aren't exactly Instagram-worthy. The key is to be patient with yourself and keep trying. Start with simple braids like a basic three-strand braid and gradually work your way up to more complicated styles. Watch videos, read tutorials, and don't be afraid to experiment. Remember, it's all part of the learning process! And hey, even if it doesn't turn out perfectly, you're still rocking a unique style that you created yourself. So, embrace the journey and have fun with it!
Think of it like learning a new dance move – you might stumble a few times, but with practice, you'll be gliding across the floor like a pro. The same applies to braiding. It's a skill that gets better with each attempt. Don't give up on your braiding dreams – you've totally got this!
Easy Nice Hairstyle Braids for Beginners
Easy Nice Hairstyle Braids for Beginners
The Classic Three-Strand Braid
Okay, let's start with the absolute basics: the three-strand braid. This is the foundation for pretty much every other braid out there, so it's super important to master. It’s like learning the alphabet before you write a novel. Start by dividing your hair into three equal sections. Now, take the right section and cross it over the middle section. Then, take the left section and cross it over what is now the middle section. Keep repeating this pattern – right over middle, left over middle – all the way down. It might feel a little awkward at first, but trust me, you'll get the hang of it. Keep your tension consistent, not too tight or too loose, and you'll end up with a nice, even braid. This braid is perfect for a casual day out or even a quick gym hairstyle!
Don't worry if your first attempt looks a little messy. It's totally normal! Just keep practicing, and soon you’ll be braiding like a pro. Think of it like riding a bike – at first, you might wobble and fall, but eventually, you'll be cruising along with ease. And who knows, maybe you'll even start adding your own little flair to it!
The Simple Side Braid
Ready for something slightly different? The simple side braid is a great way to add a touch of elegance to your look without too much effort. Instead of braiding straight down the back of your head, you'll be gathering your hair to one side and braiding it there. Start by brushing your hair to the side you prefer. Then, follow the same three-strand braiding technique as before, but this time, keep the braid along the side of your head. This style is fantastic because it’s quick, easy, and looks great on almost everyone. It’s perfect for a brunch date or a casual hangout with friends.
The side braid also gives you a chance to show off your earrings and neck. It's a simple change that makes a big impact. If you want to add a little more flair, try gently pulling apart the braid to make it look a little fuller and more relaxed. It's these small touches that can take your braid from simple to stunning.
Braid Type | Key Steps | Best For |
|---|---|---|
Three-Strand Braid | Divide hair into three sections, cross right over middle, then left over middle, repeat. | Everyday casual looks, gym hairstyles. |
Side Braid | Gather hair to one side, then follow three-strand braid technique. | Brunch dates, casual hangouts. |
The Effortless Fishtail Braid (Simplified)
Now, before you panic, let me clarify: this is a simplified version of the fishtail braid. The real deal can be a bit tricky for beginners, but we're going to break it down to make it super easy. Start by dividing your hair into two sections instead of three. Now, take a small piece from the outside of the right section and bring it over to the inside of the left section. Then, take a small piece from the outside of the left section and bring it over to the inside of the right section. Keep repeating this pattern all the way down. It might seem a little confusing at first, but once you get the hang of it, it's actually quite simple. And the result? A beautiful, textured braid that looks way more complicated than it is.
The simplified fishtail braid is perfect when you want something a little more special without spending hours in front of the mirror. It’s a great option for a party or a date night. And here's a tip: don't worry about making it perfect. The beauty of this braid is in its slightly messy, undone look. So, embrace the imperfections and rock that effortlessly chic style!
Cool Nice Hairstyle Braids for Every Occasion
Cool Nice Hairstyle Braids for Every Occasion
The Elegant French Braid
Alright, let's step up the game with the French braid. This braid is a classic for a reason – it's elegant, versatile, and perfect for both casual and formal events. The key to a great French braid is starting close to your hairline and gradually incorporating more hair as you go. Begin by taking a section of hair at the top of your head and divide it into three equal parts. Start braiding like a regular three-strand braid, but after each cross-over, add a small section of hair from the sides into the braid. Keep doing this until all your hair is included, then continue braiding normally down to the ends. It might take a few tries to get the hang of adding hair, but once you do, you'll be able to create this sophisticated look in minutes. It's fantastic for a day at the office or a fancy dinner out.
The French braid is a perfect example of how a simple technique can create a really polished look. Don't be afraid to experiment with how tight or loose you braid it. A tighter braid will look more formal, while a looser braid will give you a more relaxed vibe. And here's a pro tip: if you want to add some extra volume, gently pull apart the edges of the braid once you're done. This will make it look fuller and more textured. It's those little touches that can make all the difference.
The Boho Crown Braid
Ready to feel like a total goddess? The crown braid is a beautiful, bohemian style that's perfect for festivals, weddings, or any time you want to add a touch of whimsy to your look. This braid basically encircles your head, creating a halo effect. To achieve this, start by parting your hair down the middle. Then, take a section of hair near your ear on one side and start braiding a French braid along your hairline, adding hair as you go. Once you reach the back of your head, continue braiding around the other side. When you get to the beginning, tuck the end of the braid under the starting point and secure it with bobby pins. The result is a gorgeous, crown-like braid that will have everyone asking, "How did you do that?"
The crown braid is a bit more involved than the other braids we've talked about, but trust me, it's worth the effort. It's a great way to keep your hair out of your face while still looking super stylish. And here's a little secret: don't worry if it's not perfect. The beauty of the crown braid is in its slightly messy, undone vibe. So, embrace the imperfections and let your inner boho goddess shine!
Braid Type | Occasion | Style Vibe |
|---|---|---|
French Braid | Office, dinner, formal events | Elegant, polished |
Crown Braid | Festivals, weddings, special occasions | Bohemian, whimsical |
Maintaining Your Nice Hairstyle Braids
Maintaining Your Nice Hairstyle Braids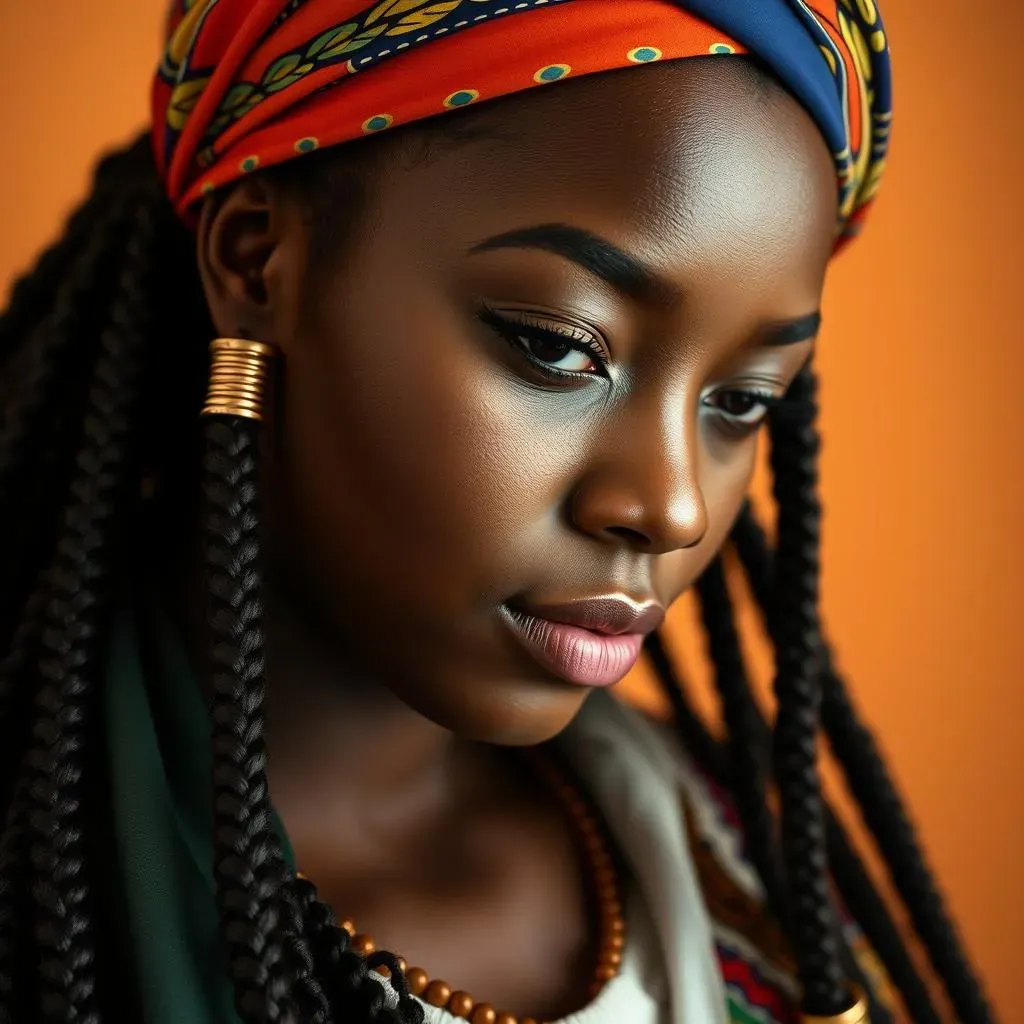
Nighttime Care for Braids
Okay, so you've spent time creating these awesome nice hairstyle braids, now what? Well, it's super important to protect them while you sleep. All that tossing and turning can lead to frizz, breakage, and a generally sad-looking braid the next day. The secret weapon here? A silk or satin scarf or bonnet. These materials are much gentler on your hair than cotton, which can cause friction and lead to damage. Wrap your braids loosely in the scarf or bonnet before you hit the pillow. This will help keep them smooth and intact, so you can wake up with braids that look just as good as they did the night before. It's like giving your braids a cozy little sleeping bag!
Another helpful tip is to braid your braids into a larger braid or ponytail before putting on your scarf or bonnet. This will prevent them from getting tangled and will help them maintain their shape. Think of it like giving your braids a little extra support system while they rest. And remember, a little extra care at night can make a huge difference in the longevity of your nice hairstyle braids.
Refreshing and Hydrating Your Braids
Even with the best nighttime care, your braids might need a little pick-me-up throughout the week. Dryness is a common issue, especially if you have textured hair. To keep your braids looking fresh and hydrated, use a light moisturizing spray or oil. Apply it gently to your scalp and along the length of your braids. This will help keep your hair moisturized and prevent it from becoming brittle. Be careful not to over-saturate your hair, as this can lead to product buildup. A little goes a long way!
Another good practice is to gently massage your scalp while applying the moisturizer. This will help stimulate blood flow and keep your scalp healthy. And if you notice any flyaways, a little bit of styling cream or gel can help tame them. Remember, maintaining your nice hairstyle braids isn't about perfection; it's about keeping them healthy and looking their best. So, take a few minutes each day to give your braids some love.
Care Technique | Why It's Important |
|---|---|
Silk/Satin Scarf or Bonnet | Reduces friction, prevents frizz and breakage. |
Braiding into Larger Braid/Ponytail | Prevents tangling, helps maintain shape. |
Moisturizing Spray or Oil | Keeps braids hydrated, prevents dryness. |
Scalp Massage | Stimulates blood flow, promotes scalp health. |
Knowing When It's Time to Take Them Out
All good things must come to an end, and that includes your beautiful nice hairstyle braids. While it's tempting to keep them in for as long as possible, it's important to know when it's time to take them out. Leaving braids in for too long can lead to matting, breakage, and buildup. A good rule of thumb is to keep your braids in for no more than 6 to 8 weeks, but this can vary depending on your hair type and the type of braid. When you do take them out, be gentle and patient. Don't rip or pull at your hair, as this can cause damage. Use a detangling spray and a wide-tooth comb to carefully remove the braids, section by section.
After removing your braids, it's a good idea to give your hair a deep conditioning treatment. This will help replenish moisture and strengthen your strands. Think of it as a reward for your hair after being braided for so long. And remember, it's better to take your braids out a little earlier than to risk causing damage to your hair. Your hair will thank you for it!