Table of Contents
Ever looked at someone rocking gorgeous crochet braids and thought, "I wish I could do that?" Well, guess what? You absolutely can! This isn't some secret society of hair wizards; it's totally doable, even if you're a complete beginner. We're talking about easy crochet braids hairstyles for beginners, and I'm here to show you the ropes. Forget spending hours in a salon chair or wrestling with tiny braids. We're diving into the world of quick, simple, and seriously stylish crochet braids that anyone can master. I'll walk you through the basics, from what you need to get started to a step-by-step guide on how to install your braids. Then, we'll get to the fun part: exploring 15 different looks that will have everyone asking, "Where did you get your hair done?" Prepare to be amazed at how easy and fun this can be, and get ready to transform your look with these fantastic and beginner-friendly styles. Let’s get started!
Getting Started with Easy Crochet Braids: A Beginner's Guide
Getting Started with Easy Crochet Braids: A Beginner's Guide
What are Crochet Braids Anyway?
Okay, so you've heard the buzz, but what exactly *are* crochet braids? They're not actually braids you do yourself, like the ones you might have spent hours doing as a kid. Instead, they’re pre-braided or pre-styled hair extensions that you attach to your natural hair using a crochet hook. Think of it like adding instant braids or curls without the hassle of braiding each strand individually. It's like a shortcut to gorgeous hair, and honestly, who doesn't love a good shortcut? This method is super gentle on your natural hair, because you’re not putting a lot of tension on your roots, making it a great choice if you're trying to grow out your hair or just want a low-maintenance style.
The Tools You'll Need
Before you jump in, let's talk tools. You don't need a ton of fancy stuff, which is awesome. First, you'll need crochet hair, which comes in all sorts of styles, colors, and lengths. You can find this at most beauty supply stores or online. Then, grab a crochet hook – it looks like a tiny hook with a latch, and it’s the key to attaching the extensions to your hair. You’ll also want a mirror (or two) so you can see what you're doing, and some clips or hair ties to keep your natural hair out of the way. That’s pretty much it! It's not like you need a whole salon setup in your bathroom.
Tool | Why You Need It |
|---|---|
Crochet Hair | The actual braids or curls you'll be attaching. |
Crochet Hook | To pull the extensions through your natural hair. |
Mirror(s) | To see the back of your head and make sure your parts are straight. |
Clips or Hair Ties | To keep your natural hair sectioned and out of the way. |
Prep Work is Key
Before you even think about touching that crochet hook, you’ve got some prep work to do. It's not a big deal, but it’s important. Start with clean, detangled hair. Give it a good wash, and make sure it’s completely dry. Next, decide if you want to braid your hair into cornrows or just section it into smaller parts. Either method works, but cornrows give you a flatter base for the extensions. If you choose to section, just make sure your parts are neat and even. Once you’ve prepped your hair, you’re officially ready to start installing your crochet braids, and trust me, this makes the process so much smoother.
StepbyStep Tutorial: Mastering Basic Crochet Braids
StepbyStep Tutorial: Mastering Basic Crochet Braids
The Latch Hook Method: A Quick Guide
Alright, let's get to the good stuff: installing those crochet braids! Grab your crochet hook and a piece of your crochet hair. Now, find one of your cornrows or a section of your parted hair. Slide the hook under the cornrow or section, creating a small loop. Open the latch on the hook, hook the loop of the crochet hair, close the latch, and pull the hook back through, bringing the hair with it. This creates a loop with your crochet hair around your natural hair. It might sound a bit tricky at first, but I promise you’ll get the hang of it after a few tries. Think of it like threading a needle, but with hair, and a hook.
Once you’ve pulled the hair through, you'll have a loop. Now, take the loose ends of the crochet hair and thread them through the loop you just created. Gently tighten the knot. You don't want to pull too hard, just enough to secure the hair, and you are done! It's like tying a very small, very stylish knot. Repeat this process around your whole head, making sure to space the braids evenly. It's like planting a garden, but with hair. And just like a garden, spacing is important!
Tips for a Smooth Install
Now, let’s talk about some secrets to make this whole process smoother. First off, don't try to rush it. This isn't a race. Take your time, especially when you're just starting out. If you try to go too fast, you’ll likely end up with uneven braids or accidentally pull too hard. Also, make sure you're not taking too much hair for each section. Less is more. You want to make sure the extensions are secure but not too tight, so you don't put a lot of tension on your scalp. Think of it like applying paint - a thin, even layer is always better than a thick, gloopy one.
Another thing to keep in mind is the direction you're pulling the hair through. You want to make sure the knot lies flat against your scalp. This helps to keep your braids looking neat and also makes them more comfortable. If the knot is sticking out, it might catch on things or feel a little lumpy. A little mirror work will be your best friend here. Also, you can try to vary the direction of the knots to make the braids look more natural and less uniform. It’s all in the details.
Tip | Why It Matters |
|---|---|
Go Slow | Avoid mistakes and uneven braids. |
Use Less Hair | Prevent bulkiness and scalp tension. |
Flat Knots | Ensure comfort and neatness. |
Vary Knot Direction | Create a more natural appearance. |
Troubleshooting Common Issues
Let’s talk about the inevitable: hiccups. Sometimes, the loop on the crochet hair might be too tight to pull through easily. If this happens, don’t force it! Try using the tip of your crochet hook to gently widen the loop. If you keep having trouble with a particular braid, just take it out and try again. It's not a big deal. Sometimes, you might also find that your braids are looking a bit too bulky or puffy. This is usually because you've used too much hair in one section. If this happens, you can always take out a few braids and redo them with less hair. Trust me, taking a step back and reassessing is always better than powering through with something that you're not happy with. Remember, practice makes progress, not perfection.
And finally, if your scalp feels a little tender after installing your crochet braids, don’t worry. This is totally normal, especially if this is your first time. Try using some oil or leave-in conditioner on your scalp to soothe any irritation. And if you have any questions, just ask someone who has done it before, or there are tons of videos online that can help you see the process in action. It’s all about learning and experimenting to see what works best for you. And most importantly, have fun with it!
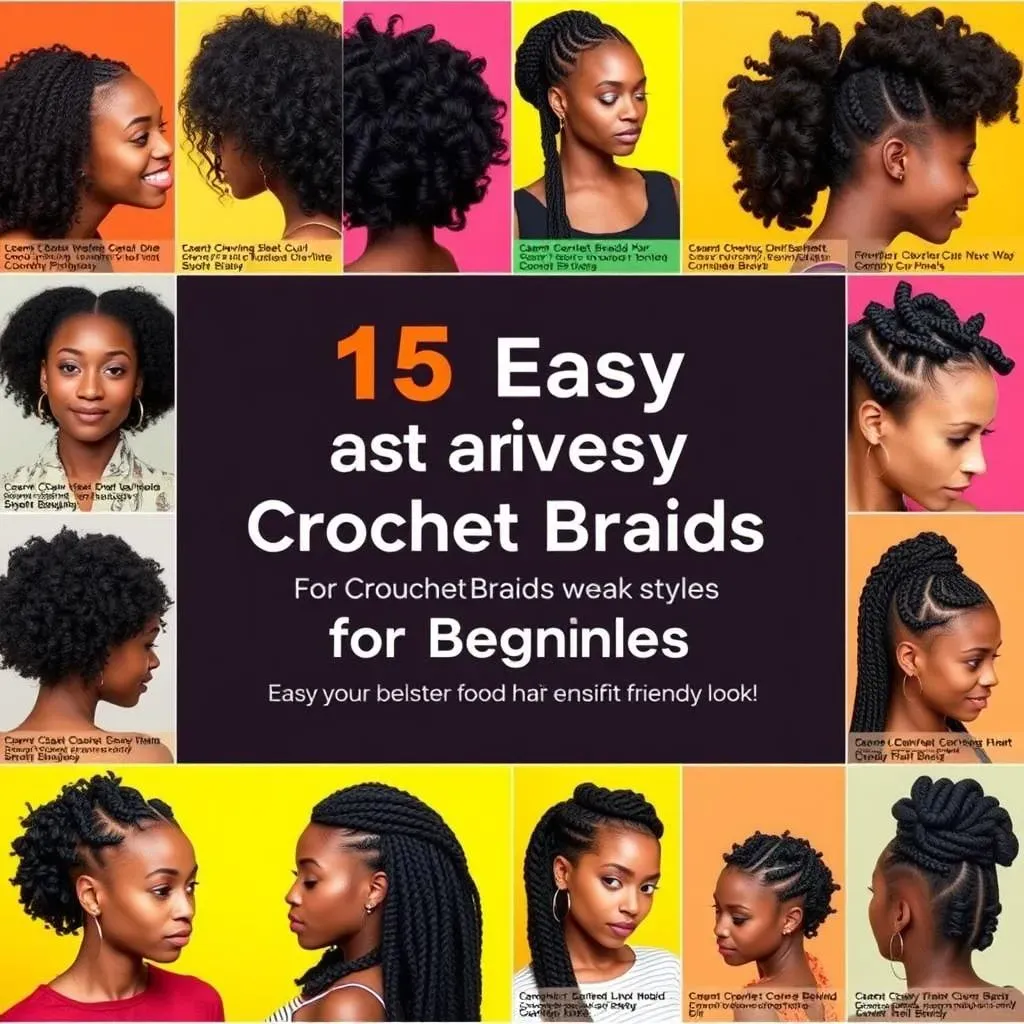
Exploring 15 Quick & Easy Crochet Braid Styles for Beginners
Exploring 15 Quick & Easy Crochet Braid Styles for Beginners
The Classic Crochet Curl
Alright, let's kick things off with a classic! The classic crochet curl is perfect for beginners because it's super easy to install and looks amazing with minimal effort. This style is all about using pre-curled crochet hair, and it's so versatile. You can go for tight, bouncy curls, or loose, wavy ones, depending on your preference. It’s like having a head full of perfectly styled curls without spending hours with a curling iron. This style is ideal for anyone who wants to add some volume and texture to their hair quickly.
I remember the first time I tried this style, I was amazed at how effortlessly chic it looked. It was like I had a professional stylist in my bathroom. And the best part? It's so low-maintenance. Just fluff it up in the morning, and you're good to go. No need to worry about frizz or losing your curl pattern. It's a lifesaver for busy mornings or when you just want to look fabulous without spending a ton of time on your hair. Plus, if you're feeling adventurous, you can even add some colorful streaks for a fun pop!
Bohemian Vibes with Loose Waves
Next up, let's talk about bohemian crochet braids. This style is all about relaxed, beachy waves. It’s perfect for that effortless, “I woke up like this” vibe. You'll want to choose crochet hair that has a loose, wavy texture for this look. The beauty of this style is that it doesn't need to be perfect. In fact, the more undone it looks, the better. It’s like a permanent vacation for your hair. This style is great for anyone who likes a more natural, carefree look.
I've always been a fan of this style because it’s so versatile. You can wear it down, braid it into a messy fishtail, or throw it up into a top knot. The options are endless. Plus, it’s super comfortable and lightweight, which is a huge bonus. It's like wearing a cloud on your head, but a stylish cloud, of course. And if you're into accessories, this style looks amazing with headbands, scarves, or even a few strategically placed flowers. It’s all about embracing your inner free spirit.
Style | Description | Ideal For |
|---|---|---|
Classic Crochet Curl | Bouncy or loose curls using pre-curled hair. | Beginners wanting volume and texture. |
Bohemian Loose Waves | Relaxed, beachy waves with a natural look. | Those seeking a carefree, effortless style. |
The Sleek and Straight Crochet Braid
Now, if curls and waves aren’t your thing, don’t worry, I've got you covered. The sleek and straight crochet braid is a fantastic option for a more polished and refined look. This style uses straight crochet hair and gives you a super smooth and sophisticated finish. It’s like having a perfectly blow-dried hairstyle without any of the work. This style is excellent for anyone who likes a clean, modern look that’s easy to manage.
What I love about this style is how versatile it is. You can wear it down for a sleek, professional look, or you can style it into a high ponytail or bun for a more sporty vibe. It’s incredibly adaptable, just like a chameleon, but for hair! Plus, if you want to add a little something extra, you can always use some hair clips or barrettes to add some sparkle. It’s the perfect blank canvas for you to experiment and make it your own. And the best part is that it requires very little maintenance. Just a quick brush in the morning, and you're good to go. It’s like having a personal stylist on speed dial.
