
Table of Contents
Ever looked at someone rocking a cool double braids hairstyle and thought, "I wish I could do that?" Well, guess what? You totally can! This isn't some super complicated hair magic, it's actually pretty simple once you get the hang of it. We're going to walk through everything, from the basic steps to different styles you can try. Think of it like learning to tie your shoes, a little tricky at first, but soon you'll be doing it without even thinking. We'll start by getting you comfortable with the basics, then we'll move on to different types of double braids, like the classic pigtail braids or maybe even a fun pull-through style. I'll give you a super easy step-by-step guide so you can follow along, and we'll finish with some tips and tricks to make your braids look fantastic. Get ready to transform your hair game and become a braid master!
Getting Started with Your Double Braids Hairstyle
Getting Started with Your Double Braids Hairstyle
Gather Your Supplies
so you're ready to rock some double braids? Awesome! First things first, let's make sure you've got everything you need. It's like getting your tools ready for a big art project, you know? You don't want to be halfway through and realize you're missing something. So, what do we need? A brush or comb to get rid of any tangles, two hair ties (or elastics, whatever you call them), and maybe some clips to keep sections of your hair out of the way. Oh, and a mirror, unless you have eyes in the back of your head.
I remember the first time I tried braiding my hair, I was using a broken comb and some old, stretched-out hair ties. It was a mess! So, trust me on this, good tools make a huge difference. Having everything in one place before you start will make the whole process so much smoother and less frustrating. It's about setting yourself up for success, not failure. Think of it like preparing a meal: you wouldn't start cooking without all your ingredients, right?
Prep Your Hair
Now that you've got your tools, let's talk about your hair. Clean, dry hair is the easiest to braid. If your hair is super slippery or silky, you might want to add a little texture with some texturizing spray or even just a bit of dry shampoo. This will give your braids more grip and help them stay put. Brush your hair really well. Seriously, no knots allowed. A smooth canvas is key for a smooth braid. Imagine trying to paint on a wrinkled piece of paper; it just wouldn't work out well, right?
I always take a few extra minutes to make sure every single tangle is out. It makes the braiding process so much easier and less painful. It’s like prepping a garden bed before planting; you want it nice and clear so everything can grow properly. And, if you have super thick hair like me, sectioning is your friend. Use those clips to divide your hair down the middle and keep one side out of the way while you work on the other. This prevents everything from turning into one big, tangled mess.
Basic Sectioning
so you've got your hair prepped and tangle-free, great job! The next step is to part your hair right down the middle. You want a nice, clean line from your forehead to the nape of your neck. It doesn't have to be perfect, we're not going to be judged on the straightness of the part, but a good part makes the braids look more even. I like to use the end of a comb to make a crisp line but fingers work too. It's like drawing a line to start a picture, it sets the stage for the rest of the masterpiece.
Once you have your part, you should have two equal sections of hair. Now, you can clip one side away, or put it into a loose ponytail to keep it out of your way. You are now ready to start on your first braid! It's like getting your two puzzle pieces ready before you start putting them together. Everything is prepared and ready, so you can focus on the next step: the actual braiding.
Step | Action | Why |
|---|---|---|
1 | Gather supplies | Ensures smooth process |
2 | Prep hair (clean and dry) | Makes braiding easier |
3 | Section hair down the middle | Creates two equal parts |
Different Types of Double Braids Styles
Different Types of Double Braids Styles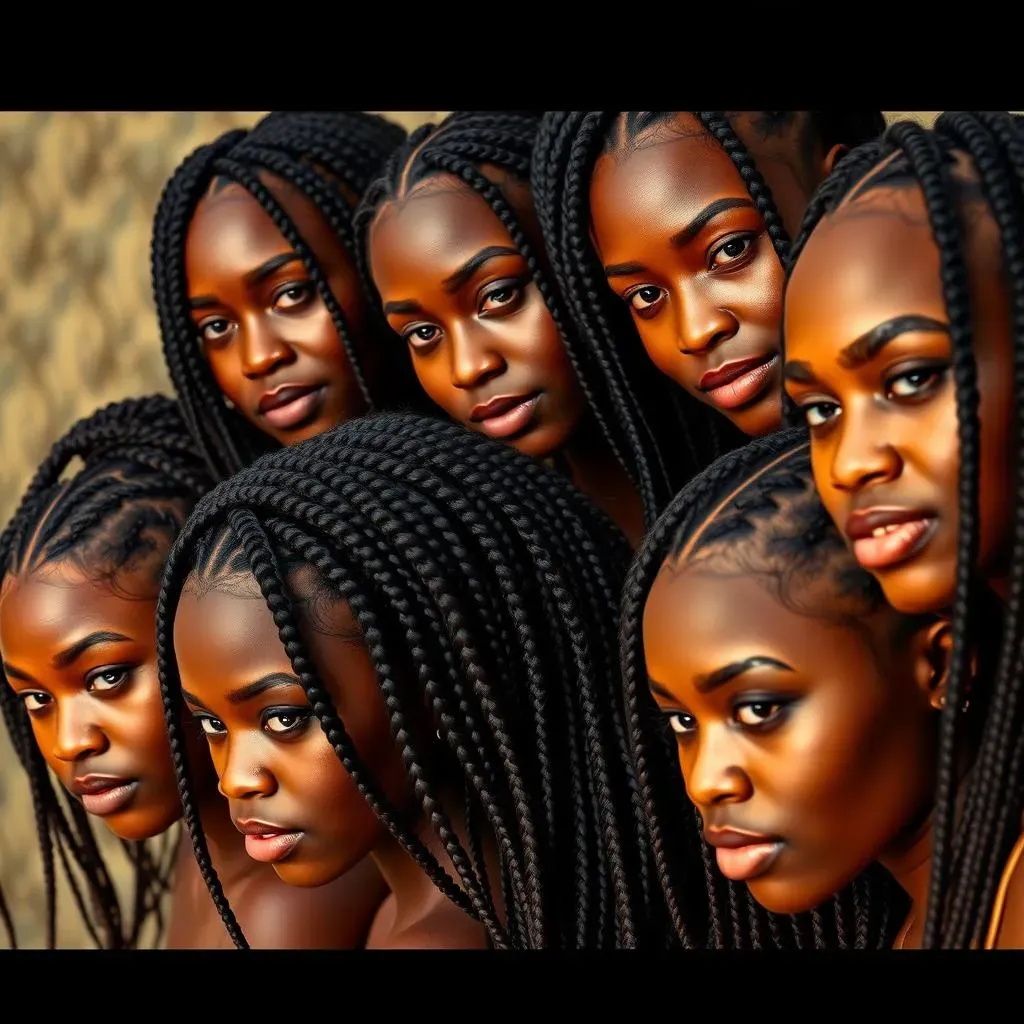
so you've got the basic double braid down, that's fantastic! But did you know there's a whole world of different double braid styles out there? It's like discovering a secret menu at your favorite restaurant, so many options to try! Let's explore a few of my favorites. First up, we have the classic pigtail braids. These are the ones you probably think of first, where you braid each section straight down. They're super cute and easy, perfect for a casual day out or a quick hairstyle. Then, there's the Dutch braid version, where you braid outwards instead of inwards. This creates a raised braid that sits on top of your hair, which is great if you want a bit more texture. I remember when I first tried Dutch braids; they seemed so complicated, but after a bit of practice, they became my go-to style.
Next, let's talk about the French braid double braids. These are similar to the Dutch braids, but instead of braiding outwards, you braid inwards, adding hair as you go. This results in a braid that hugs your head and looks really polished. And if you're feeling a bit adventurous, why not try pull-through double braids? These are a bit more complex, but they create a chunky, voluminous braid that looks like something out of a fairytale. It involves making a series of ponytails and pulling them through each other to create the braid effect. I saw someone rocking this style at a music festival once, and I was totally mesmerized. There are also fishtail double braids, which look incredibly intricate but are actually just a variation on the basic braid. It's all about playing around and seeing what you like best. Remember, it's your hair, so have fun with it!
Braid Style | Description | Difficulty |
|---|---|---|
Pigtail Braids | Classic braids down | Easy |
Dutch Braids | Braids raised outwards | Medium |
French Braids | Braids hugs head inwards | Medium |
Pull-Through Braids | Voluminous braids with ponytails | Hard |
Fishtail Braids | Intricate braid style | Medium |
Easy Double Braids: StepbyStep Tutorial
Easy Double Braids: StepbyStep Tutorial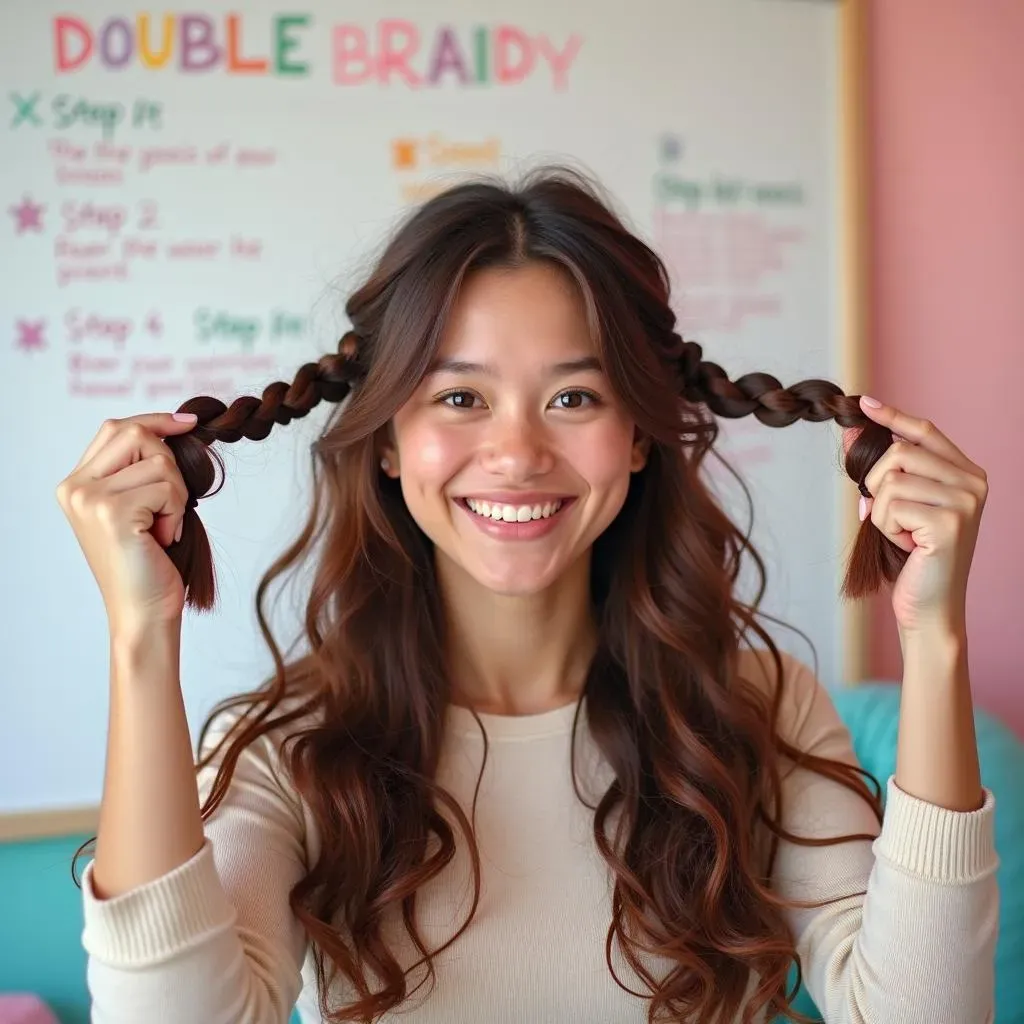
so you're ready to try some easy double braids? Awesome! Let's get started with the most basic version, the classic pigtail braids. It's like learning to ride a bike; once you get the hang of it, you'll be zooming around in no time. First, take one of your two sections of hair. Imagine you're dividing it into three equal parts, like you're getting ready to make a three-strand braid. Now, here's the trick: take the right strand and cross it over the middle strand. Then, take the left strand and cross it over the new middle strand. Keep repeating this pattern – right over middle, left over middle – all the way down the length of your hair. It’s like a little dance for your fingers. Make sure you keep the tension even, so your braid doesn't get too loose or too tight. I remember when I first started, my braids would end up looking like a lumpy mess, but practice makes perfect, right?
Once you reach the end, secure it with a hair tie. Make sure that the hair tie is tight enough to hold the braid, but not too tight that it hurts. Now, repeat that whole process on the other side. That’s it! You've got your first set of easy double braids. It's like building with LEGOs, one step at a time. And if your braids aren't perfect, don't worry. Nobody's braids are perfect the first time, or even the tenth time! It’s all about having fun and enjoying the process. Now, if you wanna get a bit fancy, you can loosen the braids a bit by gently pulling on the edges. This will make them look a bit more relaxed and voluminous. This is my favorite part, because you can really customize your braids to look just the way you want them.
Now, let's talk about some common mistakes. A lot of people tend to pull the strands too tightly when they braid, which can make the braid look stiff and unnatural. Try to keep your hands relaxed and go slow. Also, if your hair is very smooth, your braids might slip out easily. You can use hairspray or texturizing spray to add some grip. Also, try to make your part as clean as possible, because it will make the finished product look more professional. I remember one time I had my part all crooked, and the braids looked like they were trying to escape my head!
Another common problem is that people braid too close to their head, which can make the braid look small and tight. Try to braid a little bit away from your scalp to give your braid some volume and make them look more effortless. And remember, the more you practice, the better you’ll get. It might seem tricky at first, but it’s like learning to play a musical instrument. The more you practice, the better you will get. And most importantly, don't be afraid to experiment with different styles and techniques. It’s your hair, so have fun with it! You could even add some cute accessories like ribbons or clips to make your braids even more unique.
Step | Action | Notes |
|---|---|---|
1 | Divide hair into 3 strands | Like a regular braid |
2 | Cross right over middle | Repeat this step |
3 | Cross left over middle | Keep the pattern going |
4 | Secure with hair tie | Tight but not too tight |
5 | Repeat on other side | Make it even |
Tips and Tricks for Perfect Double Braids Hairstyle
Tips and Tricks for Perfect Double Braids Hairstyle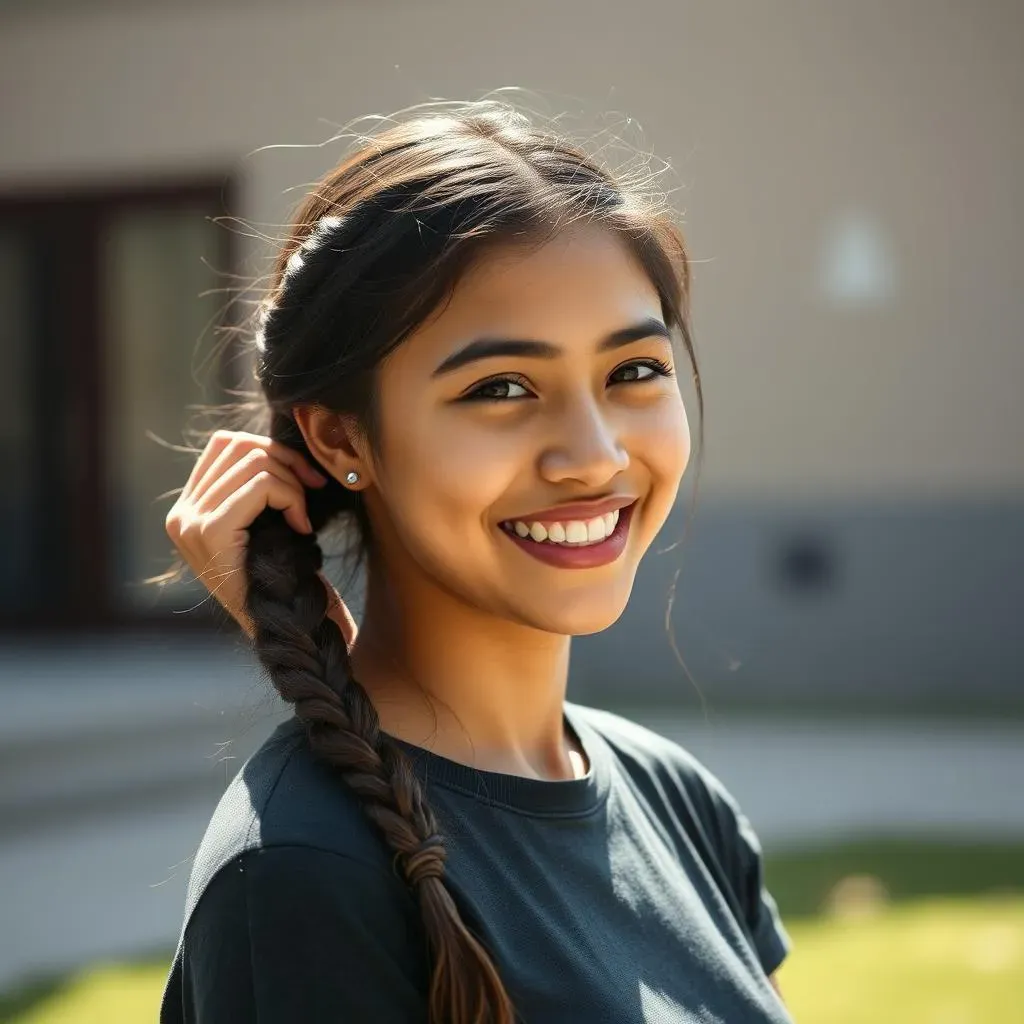
Alright, so you're getting the hang of double braids, but you want them to look *amazing*, right? Let's talk about some game-changing tips and tricks for perfect double braids hairstyle. First off, let's address flyaways. Those little hairs that stick out and ruin the smoothness? They're annoying, but totally fixable. A light mist of hairspray or a dab of hair wax can work wonders. Just smooth them down gently with your fingers. I remember one time, I had a photoshoot, and my flyaways were out of control. A little bit of hairspray saved the day, and the photos looked way better. Remember, a little goes a long way, you don't want to look like you've dipped your head in glue.
Another big one is keeping those braids tight and even. If you're finding that your braids are getting loose throughout the day, try braiding a little bit tighter at the beginning. And if your braids are starting to look uneven, pause and fix it. It’s like building a tower, if the base isn't right, the rest of it will be wobbly. And let's not forget about those pesky little bumps at the nape of your neck. If you find that your braids are starting to stick out a little bit, try angling your braids slightly upwards as you braid down. This will make them lie flatter against your head. Also, if your ends are looking a little bit frizzy, you can use a tiny dab of hair oil to smooth them down. It’s like adding the finishing touches to a painting, it makes all the difference.
And speaking of finishing touches, let’s talk about accessories. A cute ribbon, a stylish clip, or even some small braids woven into your double braids can take your hairstyle to the next level. It's like adding sprinkles to a cupcake, it makes everything more fun. I saw someone at the mall with tiny little flowers pinned into their braids and it looked so cute. Don’t be afraid to experiment and find what works best for you. The key is to not overdo it and make it look like a Christmas tree, unless that's what you are going for, then go for it. And if you have shorter hair, don’t worry! You can still rock double braids, even if they are shorter. Try braiding just the top section of your hair and leaving the rest down. It's a stylish way to have double braids even if your hair isn't super long.
Finally, and this is a big one, practice makes perfect. Don't get discouraged if your first few attempts don't look like they came straight from a magazine. It’s like learning a new dance routine, the first few times you will stumble, but with practice, you will be a pro. Keep practicing, have fun with it, and don’t be afraid to try new things. And remember, everyone’s hair is different. What works for one person might not work for you. So, be patient, experiment, and find what makes you feel the most confident and happy. Because at the end of the day, that’s what really matters.
Tip | Description |
|---|---|
Tame Flyaways | Use hairspray or wax |
Keep Braids Tight | Braid firmly from the start |
Angle Braids | Avoid bumps at the nape |
Use Accessories | Ribbons, clips, or small braids |
Practice | Keep trying and experimenting |
Wrapping Up Your Double Braid Journey
So, there you have it! From a simple idea to a stylish reality, you've now got the know-how to rock a double braids hairstyle. We've covered the basics, explored different types, and even tackled a step-by-step guide. Remember, practice makes perfect, so don't get discouraged if your first attempt isn't flawless. The best part about braids is that you can experiment, try new things, and make them your own. Whether you're heading to school, a party, or just want to switch up your look, double braids are a fun and versatile option. Go ahead, give those braids a whirl and show off your new skills. You've totally got this!