
Table of Contents
Ever wanted to recreate those iconic Anna hairstyle braids from Frozen? This article is your ultimate guide to mastering the art of Anna-inspired braids, whether you're a braiding beginner or a seasoned stylist. We'll take you on a journey from simple, easy-to-follow styles perfect for everyday wear to more intricate braids that'll turn heads. We'll cover everything from basic techniques to advanced styling tips and tricks, ensuring you can achieve the perfect look, no matter your skill level. Get ready to unleash your inner Elsa and Anna and explore the wonderful world of "anna hairstyle braids." We'll even show you how to add some extra sparkle with the perfect accessories to complete your Disney princess transformation. So grab your hairbrush, some elastics, and let's get braiding!
Easy Anna Hairstyle Braids for Beginners
Easy Anna Hairstyle Braids for Beginners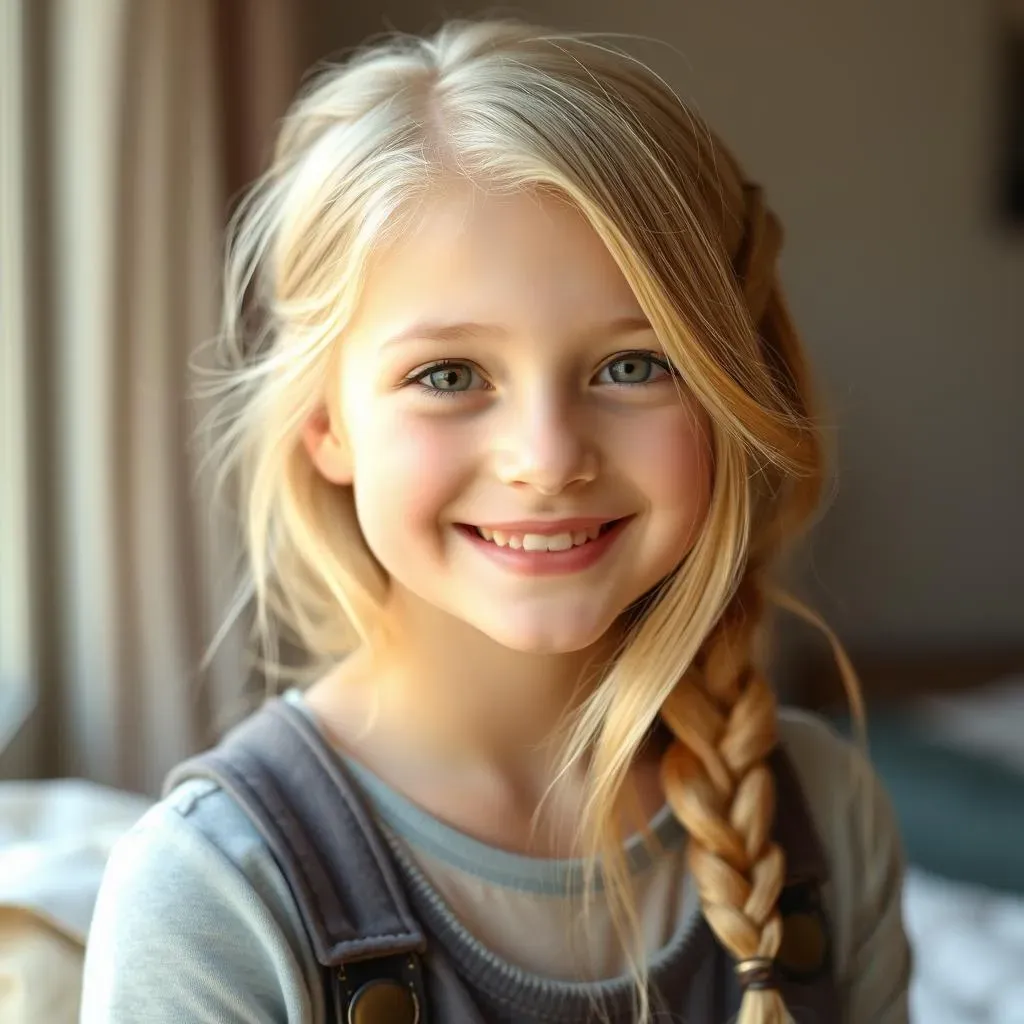
Simple Side Braid
Let's start with the easiest Anna braid: a simple side braid! This is perfect for beginners because it only requires one braid. First, brush your hair to remove any tangles. Then, gather all your hair to one side of your head. Begin braiding your hair as you normally would, keeping the braid relatively loose. Secure the end with a hair tie. It's that simple! This is a great everyday look that's both cute and practical.
For a slightly more advanced version, try adding a small section of hair to the braid from the outside of the braid as you go down. This will create a more voluminous and textured look. Remember, practice makes perfect, so don’t worry if your first few attempts aren't flawless. The key is to have fun and experiment!
Step | Action |
|---|---|
1 | Brush hair thoroughly. |
2 | Gather hair to one side. |
3 | Begin braiding, keeping it loose. |
4 | Secure with a hair tie. |
Two Simple Pigtails
Another super easy Anna-inspired hairstyle involves two simple pigtails. This is a great option for younger children or anyone who wants a quick and playful look. Start by parting your hair down the middle. Then, on each side, take a section of hair and tie it off with a hair tie. You can leave the pigtails loose and bouncy, or you can add a small braid to each pigtail for a touch of extra flair. This is a great way to keep hair out of your face while still looking stylish.
To make the pigtails look even more like Anna's, try using a ribbon or colorful hair tie. You can also add some small decorative clips or barrettes for a touch of extra sparkle. Remember, the goal is to have fun and express your creativity! Don't be afraid to experiment with different accessories and styles to find what works best for you.
- Part hair down the middle.
- Tie off sections of hair on each side.
- Add braids or accessories (optional).
More Advanced Anna Hairstyle Braids: Styling Tips and Tricks
More Advanced Anna Hairstyle Braids: Styling Tips and Tricks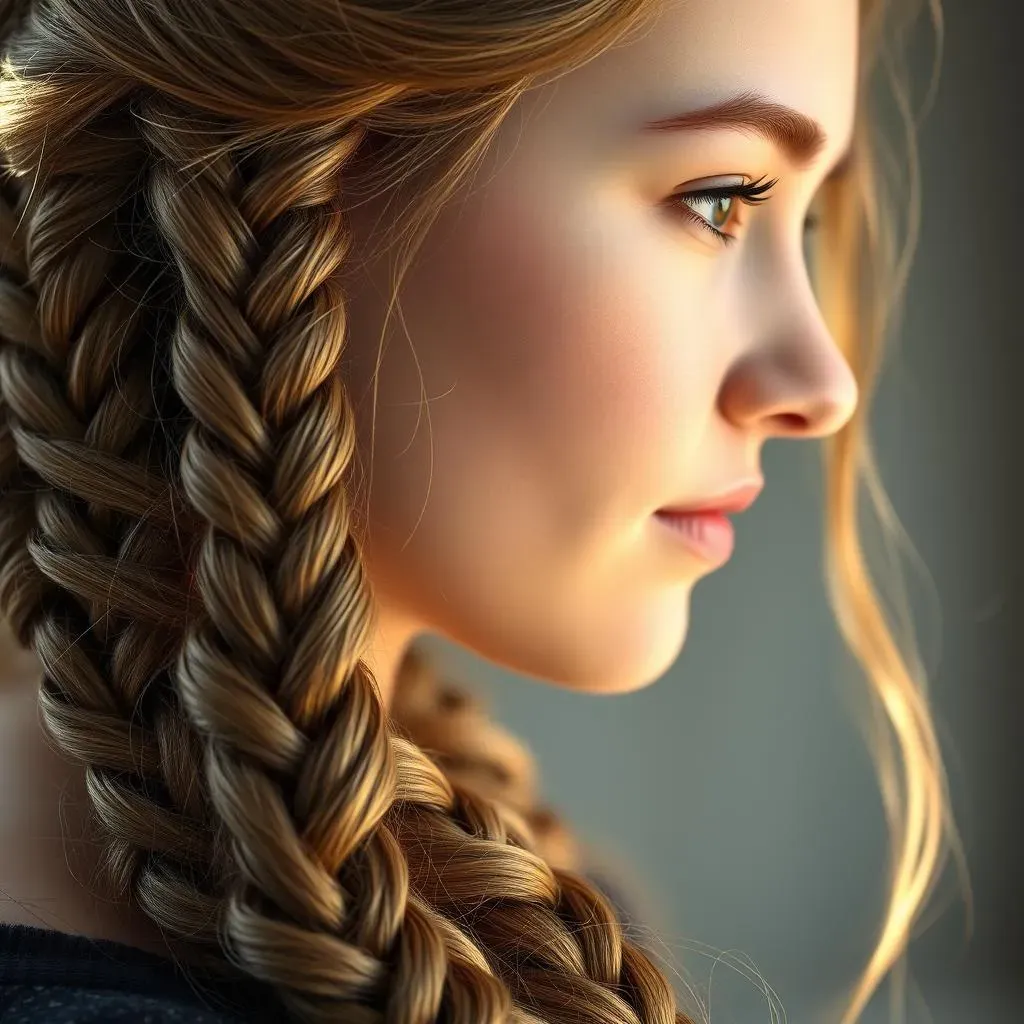
The Waterfall Braid
Ready to level up your braiding game? The waterfall braid is a beautiful and surprisingly easy-to-master style that adds a touch of elegance to any look. It’s perfect for medium to long hair and gives the illusion of a flowing waterfall of hair. Start by sectioning off a small portion of hair near your temple. Begin a regular three-strand braid, but as you braid, let the bottom strand of hair fall down freely, replacing it with a new strand from the top section of your hair. Continue braiding and releasing strands until you reach the opposite side of your head. Secure the braid with a bobby pin or a pretty hair clip. This style is a showstopper and it's surprisingly simpler than it looks!
To add extra volume and texture, consider using a texturizing spray or a volumizing mousse before you start braiding. This will help to create a fuller, more luxurious look. Don't be afraid to experiment with different placement of the waterfall braid; you can even create multiple waterfall braids for a more intricate and complex look. Remember, the secret to a successful waterfall braid is to keep the braid relatively loose and flowing. A tight braid will negate the beautiful cascading effect.
Step | Action |
|---|---|
1 | Section off hair near temple. |
2 | Begin three-strand braid, releasing bottom strand. |
3 | Replace released strand with new strand from top. |
4 | Continue to braid and release until opposite side. |
5 | Secure with bobby pin or clip. |
French Braids with a Twist
French braids are a classic hairstyle, but adding a twist can elevate them to Anna-level sophistication. Start by sectioning off a small portion of hair at the crown of your head. Begin a regular French braid, gradually adding strands of hair from the sides as you move down towards the nape of your neck. Once you reach the nape of your neck, continue braiding the hair as a regular three-strand braid, securing the end with a hair tie. To add a unique touch, try incorporating a ribbon into the braid, or use colorful hair ties to add a pop of color.
For a more intricate look, try creating two French braids that meet in the back of your head, creating a crown-like effect. You can also experiment with different braid patterns, such as a fishtail braid or a Dutch braid (an inverted French braid). The possibilities are endless! Remember to practice and experiment to find the style that best suits you and your hair type. Don’t be afraid to get creative and add your own personal touch to the braid. The most important thing is to have fun and express your creativity!
- Section off hair at the crown.
- Begin French braid, adding side strands.
- Continue as a regular braid at the nape of neck.
- Secure with a hair tie.
- Add ribbon or colorful ties (optional).
Adding Volume and Texture
Whether you're creating simple pigtails or intricate French braids, adding volume and texture can make all the difference. Before you start braiding, use a volumizing mousse or texturizing spray to give your hair some lift and grip. This will help the braids to hold their shape and prevent them from looking limp. For extra volume, try teasing the hair at the roots before you begin braiding. This will add some extra body and make the braids appear fuller.
Once you’ve finished braiding, gently tug on the edges of the braid to loosen it up and create a more relaxed, voluminous look. This technique works particularly well with thicker braids, creating a more textured and visually interesting style. Remember, the key is to be gentle; you don't want to pull too hard and damage your hair. Experiment with different levels of teasing and tugging to achieve your desired level of volume and texture. Remember, practice makes perfect!
Accessorizing Your Anna Hairstyle Braids: The Perfect Finishing Touch
Accessorizing Your Anna Hairstyle Braids: The Perfect Finishing Touch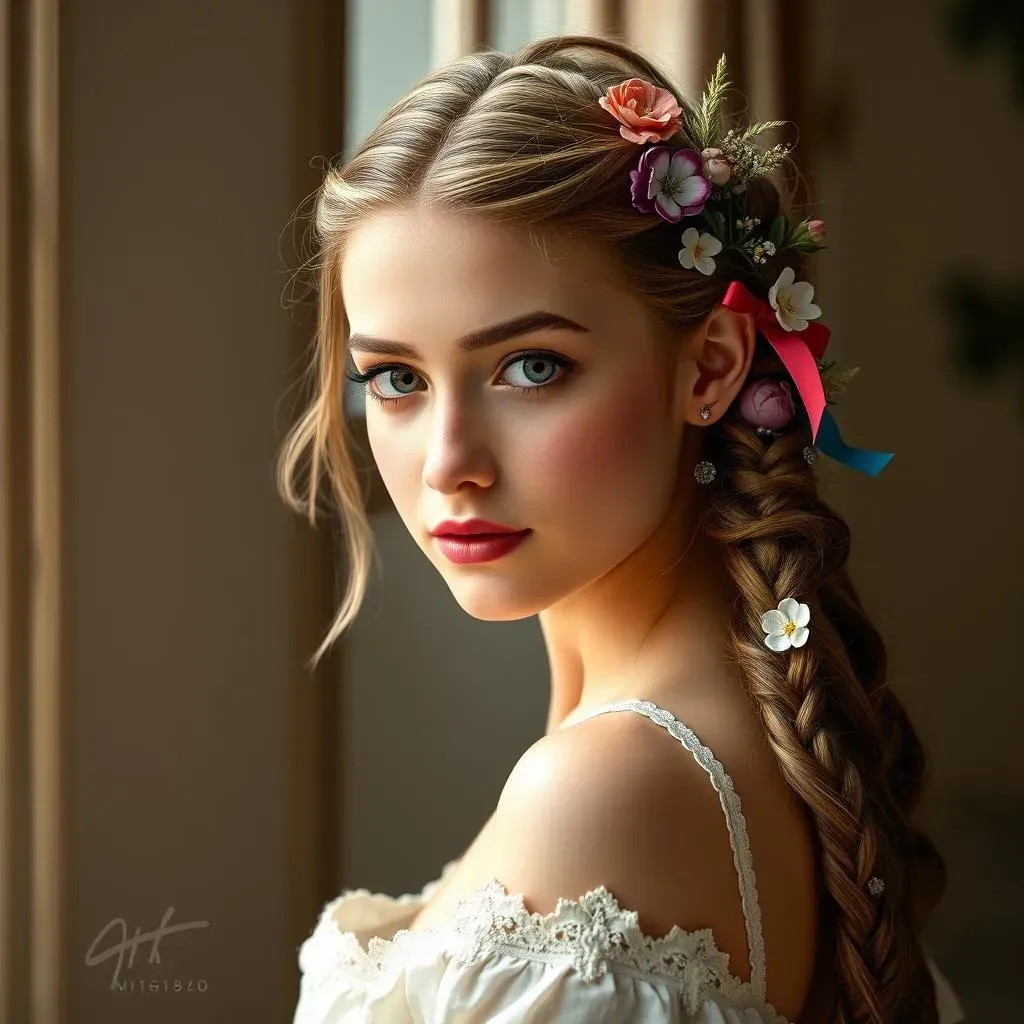
Adding Ribbons and Flowers
Let's face it, ribbons and flowers instantly elevate any braid from "cute" to "royal." Think about Anna's coronation braid – those ribbons were key! You can find an amazing array of ribbons at craft stores, from simple satin ribbons to more ornate options with glitter or patterns. For a touch of whimsy, consider using colorful ribbons that match your outfit or your personality. To incorporate them, simply weave the ribbon into your braid as you're creating it, or tie it around the finished braid. For flowers, fresh flowers work beautifully, but fabric flowers are more practical and last longer. Secure them with bobby pins or small hair clips.
Experiment with different ribbon colors and widths to find what complements your braid best. A thin ribbon can add a subtle touch of elegance, while a wider ribbon can make a bolder statement. Similarly, small, delicate flowers offer a refined look, while larger blooms add a more dramatic flair. Remember to consider the overall style and vibe you're going for – a casual braid might look great with a simple ribbon, while a more formal braid might benefit from a more ornate accessory.
Accessory | Style | Best for |
|---|---|---|
Thin satin ribbon | Subtle elegance | Everyday braids |
Wide patterned ribbon | Bold statement | Special occasions |
Small fabric flowers | Refined look | Formal braids |
Large fabric flowers | Dramatic flair | Festivals or parties |
Hair Clips and Barrettes: A Touch of Sparkle
Hair clips and barrettes offer a fantastic way to add a touch of sparkle and personality to your Anna hairstyle braids. You can find an endless variety of styles, from simple clips to more elaborate barrettes with jewels, glitter, or even miniature characters. To use them effectively, strategically place them along the braid, perhaps at the beginning, middle, or end. For a more cohesive look, match the clips or barrettes to the color of your ribbon or flowers. Don't be afraid to mix and match different styles and colors to create a unique look that reflects your own individual style.
Consider the overall aesthetic of your braid when selecting hair clips and barrettes. A simple braid might look great with a single, elegant barrette, while a more complex braid might benefit from several smaller clips strategically placed along its length. Remember, less is often more – a few well-placed accessories can make a bigger impact than a lot of haphazardly scattered ones. Experiment with different placements and combinations until you find the perfect balance that enhances your braid without overwhelming it. The goal is to complement, not compete!
- Choose clips and barrettes that complement your braid.
- Consider the overall style and color scheme.
- Experiment with placement and combinations.
- Less is often more – don't overdo it!