Table of Contents
Ever looked at a picture of a cool hairstyle and thought, "I wish I could do that"? Well, get ready, because today we're tackling the awesome world of 3 side braids hairstyles! Forget those boring, same-old 'dos. We're talking about a style that's playful, chic, and surprisingly easy to master. This isn't just another hair tutorial; it's your ticket to transforming your look with a bit of braid magic. Whether you're heading to school, a party, or just want to spice up your everyday style, three side braids can be a real game-changer. In this article, I'll walk you through why this trend is so hot right now, give you a super simple step-by-step guide to creating your own 3 side braids, show you some fun ways to make the style your own, and share my top tips for keeping your braids looking fantastic. So, grab your comb and some elastics, and let's get braiding!
The Allure of Three Side Braids: Why They're Trending
The Allure of Three Side Braids: Why They're Trending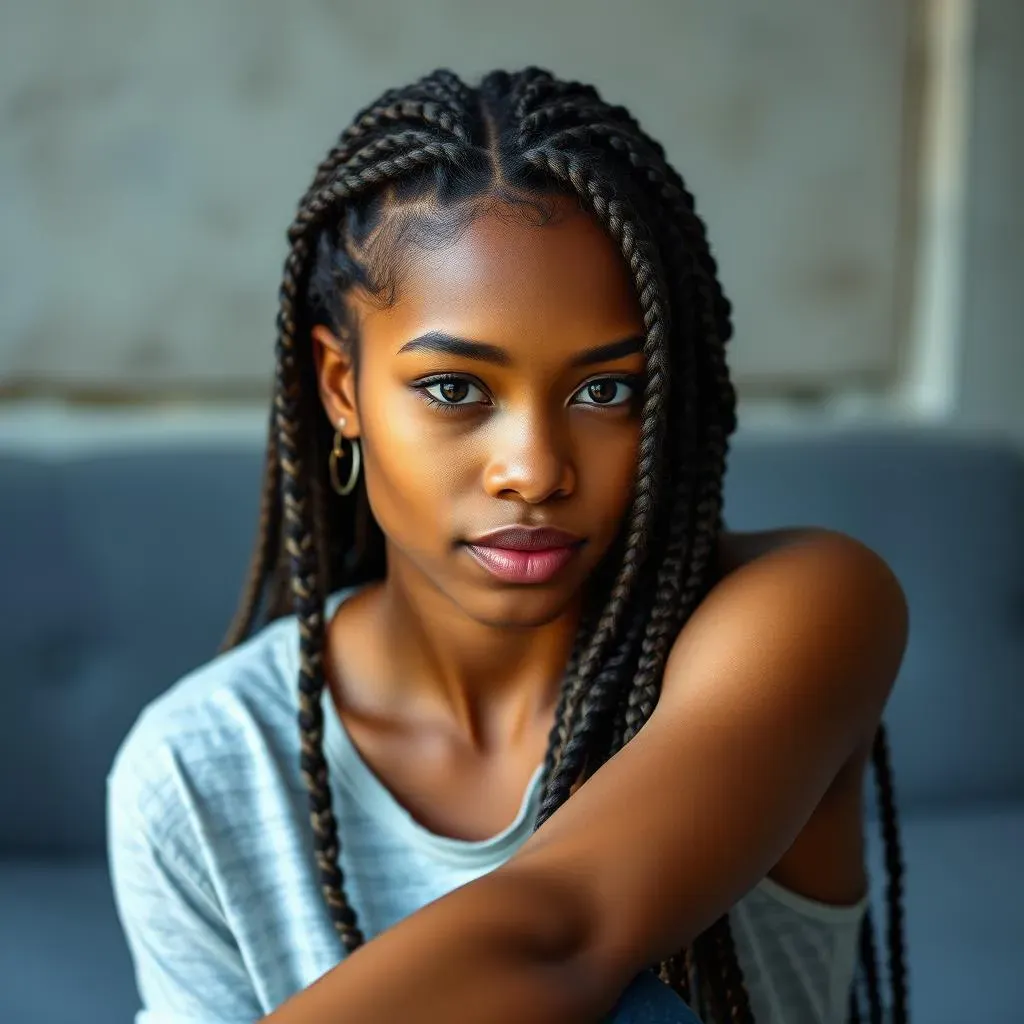
The Rise of the Braid
so why are three side braids suddenly everywhere? It's not just a random trend, you know. Braids have been around forever, but they always seem to find a way to reinvent themselves. This time, it's all about that effortless, cool-girl vibe. Think about it: they're not too fussy, they work for almost any hair length, and they can take you from a casual day out to a more dressed-up occasion. Plus, they're way more interesting than your standard ponytail. It's like a little bit of artistry you get to wear every day.
I’ve seen so many people rocking them at the gym, at the grocery store, and even at some fancy events. It's like the three side braids have become a secret code for saying, "I'm stylish, but I didn't spend hours in front of the mirror." And let’s be honest, who doesn’t want that? They give off this laid-back yet put-together feel. Which is probably why they're popping up all over social media. It's the perfect example of a trend that's both practical and fashionable.
Versatility and Visual Appeal
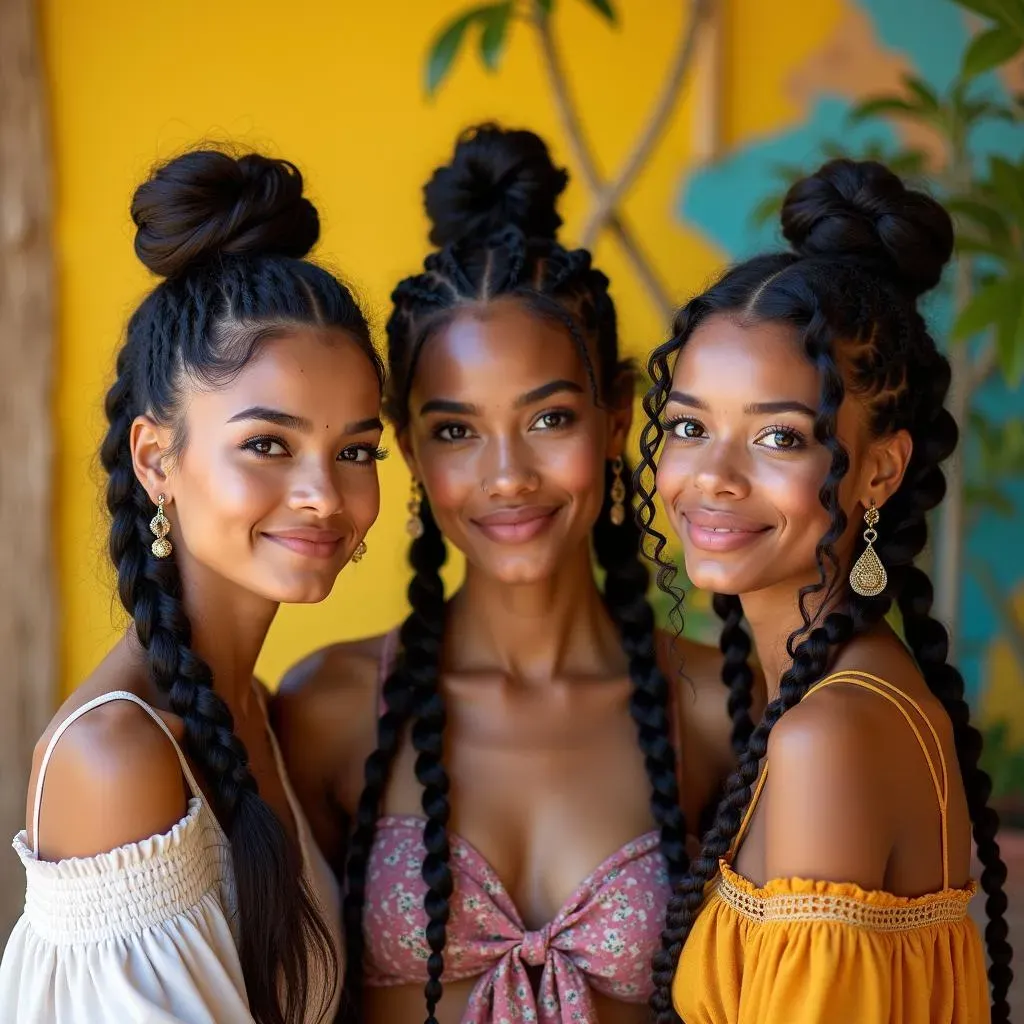
What I find truly fascinating about 3 side braids is how versatile they are. You can go for tight, neat braids for a polished look, or loosen them up for something more bohemian. Add some curls, or leave your hair straight. It's all up to you! I remember once, I had a last-minute invite to a party, and my hair was a mess. I quickly did three side braids, and they looked so good that people thought I had spent hours on them. The visual appeal is undeniable; the braids add texture and dimension that you just can't get with other hairstyles. It’s a simple change that makes a huge difference.
And let's not forget the fun factor. There’s just something about braids that feels playful and youthful. It's like a little nod to our inner child, while still looking totally chic. It’s no wonder that people of all ages are embracing this trend. Whether you're a student, a busy professional, or someone who just loves to experiment with your look, three side braids offer a fresh and exciting way to express yourself. It’s not just a hairstyle; it's a statement.
Benefit | Description |
|---|---|
Versatility | Suitable for various occasions, from casual to formal. |
Effortless Style | Looks polished without requiring excessive time or effort. |
Visual Appeal | Adds texture and dimension to any hairstyle. |
Playful and Youthful | Offers a fun and stylish look for all ages. |
StepbyStep Guide to Creating Perfect 3 Side Braids Hairstyles
StepbyStep Guide to Creating Perfect 3 Side Braids Hairstyles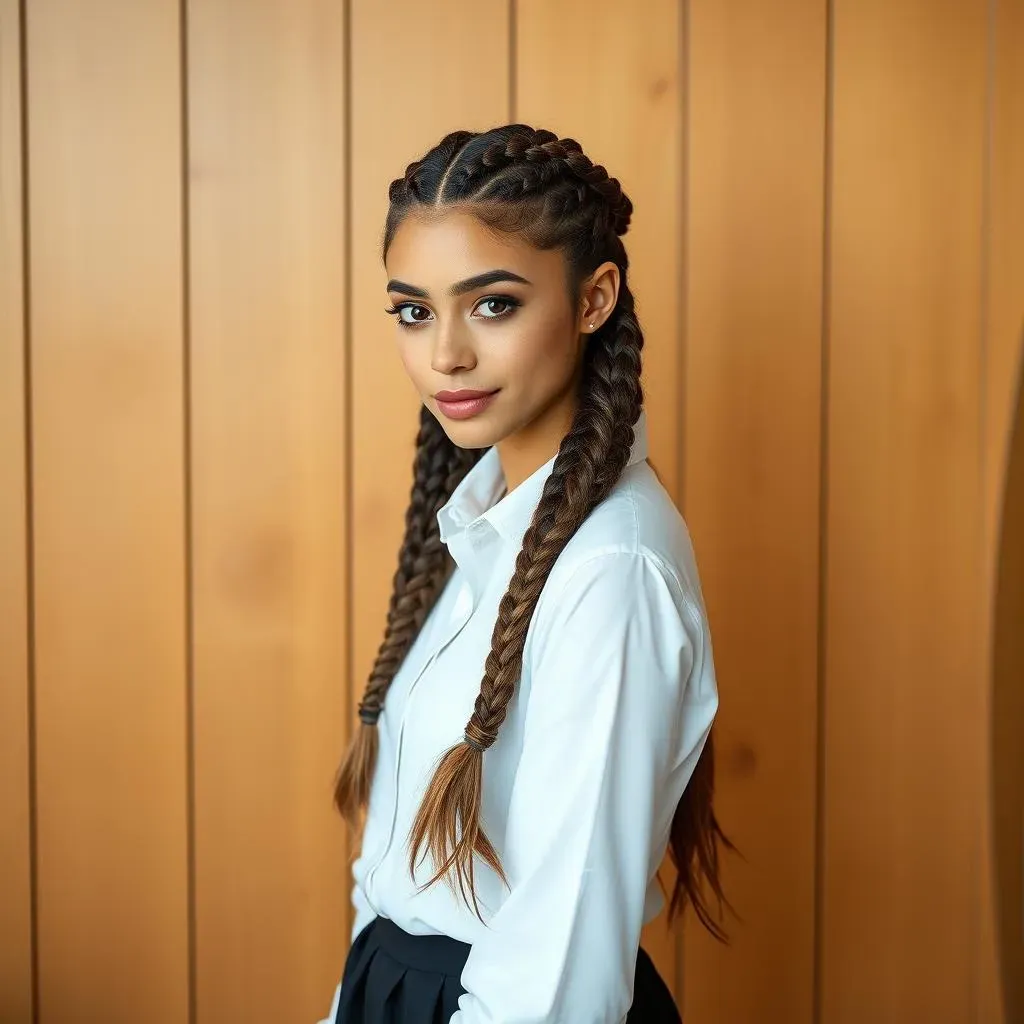
Prepping Your Hair
Alright, so you're ready to get braiding? Awesome! First things first, let's talk prep. You wouldn't start painting without priming the canvas, right? Same goes for hair. Start with clean, dry hair. If your hair is super slippery, maybe add a little bit of texturizing spray or dry shampoo. This will give your braids something to grip onto, and they won't slide out as easily. It’s like giving your hair a little hug so it stays put. Now, brush it out thoroughly. No knots allowed! We want a smooth, even surface to work with. This is key for getting those nice, neat braids. Trust me, a little prep goes a long way.
Next up, decide where you want your braids to sit. Do you want them starting right at your hairline, or a little further back? I usually go for somewhere around my temple, but it's all about what feels right for you. Once you've figured that out, use a comb to create three even sections of hair. Clip the two sections that you're not working on out of the way. It makes life so much easier. If you’re anything like me, you'll be thankful you clipped them. It prevents the inevitable tangling and keeps you focused. Now, take a deep breath, and let's get to the fun part!
The Braiding Technique
here’s where the magic happens. Take one of your three sections of hair. Now, you're going to start a regular three-strand braid, just like you've probably done a million times before. You know, the classic "left over middle, right over middle" thing. The key here is to keep your tension even. Don't braid too tight, and don't braid too loose. You want them to be snug, but not so tight that they feel uncomfortable. As you braid, make sure you’re keeping the braid close to your head. We’re aiming for a side braid, not a floating braid. Keep going with the same pattern, all the way down, until you reach the end of your hair.
Once you reach the end, secure it with a small, clear elastic band. Now, repeat the same process with the other two sections. Remember, consistency is key. Try to braid with the same tension and keep the braids in line with each other. Once you have all three braids done, you can leave them as they are, or combine them into one larger braid. It really depends on the look you’re going for. And, don't worry, if you don't get it perfect on the first try. Practice makes perfect. I've been braiding for years, and I still have days where my braids don’t come out exactly how I want them to. That’s just part of the fun!
Step | Description |
|---|---|
Prep Hair | Start with clean, dry hair. Use texturizing spray if needed. Brush thoroughly. |
Section Hair | Create three even sections of hair. Clip away unused sections. |
Braid Each Section | Create a three-strand braid, keeping tension even and close to the head. |
Secure the Braids | Use a small elastic band to secure the end of each braid. |
Styling Variations for Your 3 Side Braids: From Casual to Glam
Styling Variations for Your 3 Side Braids: From Casual to Glam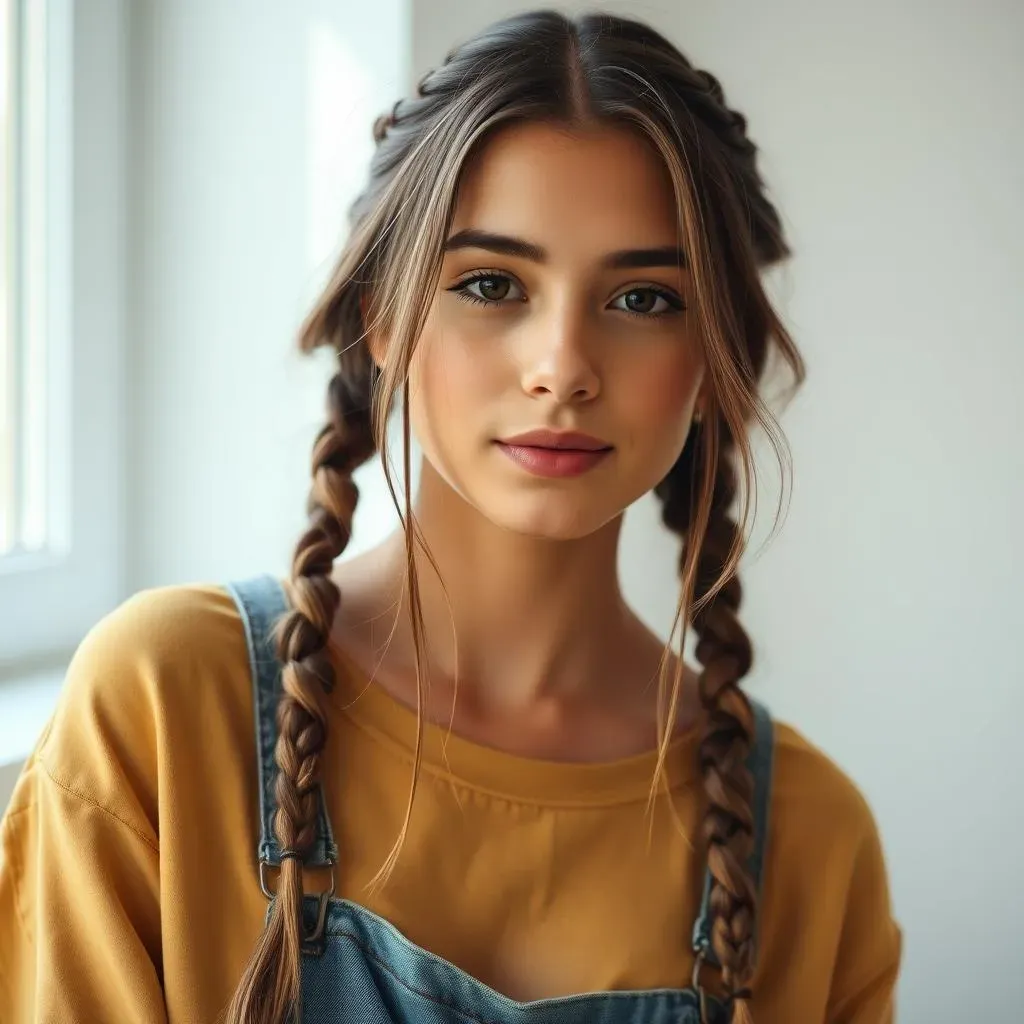
Casual Cool
so you've got your three side braids done, now what? Let's start with the casual look, perfect for a day at school or hanging out with friends. For this vibe, think relaxed and effortless. After braiding, gently tug at the sides of each braid. This makes them look a little thicker and more textured, like you didn't try too hard, even if you did. It’s all about that ‘I woke up like this’ feel. You can also leave a few strands of hair out around your face for a softer, more natural look. Sometimes, I even like to add a cute hat or a headband to complete the laid-back style. It’s the kind of look that says, “I’m ready for anything, and I look good doing it.”
Another trick for that casual vibe is to let the braids be a little messy. Don't worry too much about every strand being perfect. A little bit of imperfection adds to the charm. You can also try braiding only halfway down your hair and then securing the ends with elastic bands, leaving the rest of your hair loose and wavy. This gives the look a playful and relaxed feel. I love pairing this with a comfy sweater and jeans. It just screams ‘weekend vibes,’ you know? Remember, casual doesn't mean sloppy; it's about looking effortlessly cool and comfortable. It's about making it look like you just threw those braids in, even though we both know you spent a few minutes in front of the mirror.
Style | Description |
|---|---|
Textured Braids | Gently pull at the sides of each braid for a thicker, relaxed look. |
Loose Strands | Leave a few strands of hair out around your face for a softer feel. |
Half-Braided | Braid only halfway down, leaving the rest of your hair loose and wavy. |
Glammed Up
Now, let's talk about taking those three side braids from casual to glam. This is where you can really amp up your look for a night out or a special event. For a more polished feel, keep the braids tight and neat. Instead of pulling them apart, make sure they are smooth and sleek. Think of it like a red carpet look, but you did it yourself. I like using a little hairspray to keep everything in place and to tame any flyaways. It’s like a secret weapon for a flawless finish. You can also try braiding a little tighter for a more formal look.
To add extra glam, try incorporating some accessories. Sparkly hairpins, delicate clips, or even a thin ribbon woven through the braids can make a huge difference. I've even seen people add small pearls or crystals for a really elegant touch. You can also combine the three braids into one larger braid, which can be a really dramatic look. Another idea is to curl the ends of your hair after braiding them. This adds a touch of sophistication and makes the style look more intentional. And, don't be afraid to experiment. This is your chance to shine and show off your creativity! It's about taking something simple and making it extraordinary. Remember, glam is all about the details.
Style | Description |
|---|---|
Sleek Braids | Keep braids tight and neat for a polished look. Use hairspray to tame flyaways. |
Accessories | Add sparkly hairpins, clips, ribbons, or pearls for an elegant touch. |
Combined Braid | Combine the three braids into one larger braid for a dramatic effect. |
Curled Ends | Curl the ends of your hair after braiding for added sophistication. |
Maintaining Your 3 Side Braids and Keeping Them Fresh
Maintaining Your 3 Side Braids and Keeping Them Fresh
Nighttime Care
so you’ve rocked your 3 side braids all day, and they look amazing. But what happens when it's time to sleep? The last thing you want is to wake up with a tangled mess! The key here is to protect your braids. I always recommend using a silk or satin scarf or bonnet. These materials are super gentle on your hair, and they help prevent friction, which can cause frizz and breakage. Think of it like a cozy little sleeping bag for your braids. You can also gently wrap your braids around your head and secure them with the scarf. This helps keep them from getting squished and tangled while you sleep. It’s a small step, but it makes a huge difference in how your braids look the next day. Trust me, your hair will thank you.
Another thing I like to do is to avoid sleeping with wet hair. If your hair is damp when you go to bed, it can make your braids frizzy and less defined. So, if you wash your hair at night, make sure it's completely dry before you braid it or go to sleep. It’s all about keeping those braids looking fresh and neat, even after a night of tossing and turning. And, if you notice any loose strands, don't hesitate to gently tuck them back into the braid. It’s like a little touch-up before you hit the pillow. Remember, a little nighttime care goes a long way in keeping your braids looking their best.
Tip | Description |
|---|---|
Silk Scarf or Bonnet | Use a silk or satin scarf or bonnet to protect your braids while sleeping. |
Wrap Braids | Gently wrap your braids around your head and secure them with a scarf. |
Avoid Wet Hair | Make sure your hair is completely dry before sleeping to prevent frizz. |
Refreshing and Touch-Ups
So, let's say you've been rocking those 3 side braids for a day or two. They might start to look a little less fresh, and that's totally normal. But don't worry, you don't need to redo them from scratch! A quick refresh can do wonders. I like to use a little bit of dry shampoo to absorb any oil and to give my roots some lift. It's like a little pick-me-up for your hair. Also, If you have any flyaways, just smooth them down with a small amount of hair gel or hairspray. It’s like giving your braids a quick spa treatment, without needing to spend a lot of time.
Another great tip is to gently tighten any loose braids. You can carefully redo the ends or just tuck any loose strands back into the braid. I also sometimes like to add a little bit of hair oil to the ends of my braids. This keeps them looking hydrated and healthy. It’s like giving your hair a little drink of water. And, if your braids are starting to look a bit flat, you can gently pull at the sides to add some texture back in. The key here is to be gentle and patient. You don't want to undo all your hard work. Remember, it’s all about keeping your style looking its best for as long as possible. A little touch-up can make all the difference.
Tip | Description |
|---|---|
Dry Shampoo | Use dry shampoo to absorb oil and add lift to your roots. |
Smooth Flyaways | Use a small amount of hair gel or hairspray to tame flyaways. |
Tighten Loose Braids | Gently tighten any loose braids or tuck in any stray hairs. |
Hair Oil | Apply hair oil to the ends of your braids to keep them hydrated. |
Wrapping Up Your 3 Side Braids Adventure
Alright, you've officially leveled up your braiding game! From understanding why 3 side braids hairstyles are so popular, to mastering the technique, and exploring various styling options, you're now equipped to rock this look with confidence. Remember, practice makes perfect, so don't be discouraged if your first attempt isn't flawless. The beauty of these braids lies in their versatility, so have fun experimenting and making them your own. Whether you go for a sleek, polished style or a more relaxed, bohemian vibe, your three side braids are sure to turn heads. Now go out there and show off your awesome new 'do!